VirtualBox is a cross-platform virtualization software, which allows you to run another Operating System (such as Ubuntu) from your current Operation System (such as Windows). Using VirtualBox, you can try out, play with, test, or develop with other Operating Systems without having to reinstall your computer or try to multi boot your computer.
In virtualization software terms, your computer is called the Host, while the other Operating Systems, or OSs for short, you install through the virtualization software, such as VirtualBox, are called Guests. Guests are often called Virtual Machines, or VMs for short. You can install as many Virtual Machines as you want. So you can try Ubuntu, Mint Linux, Windows Insider, Windows Server, Mac OSX, etc all from within your current Windows, Max OSX, or Linux Host. The Virtual Machines are also self contained within one folder so you can backup or transfer the Virtual Machine to another computer. Thus you have a portable Operating System; of course, with the requirement of installing VirtualBox on the other Host computer.
The following steps will show you how to install VirtualBox on a Windows Host.
A later Post will cover how to install a Ubuntu VM.
Download VirtualBox from https://www.virtualbox.org/
Click the Download link from the left side menu, or click the big blue Download VirtualBox button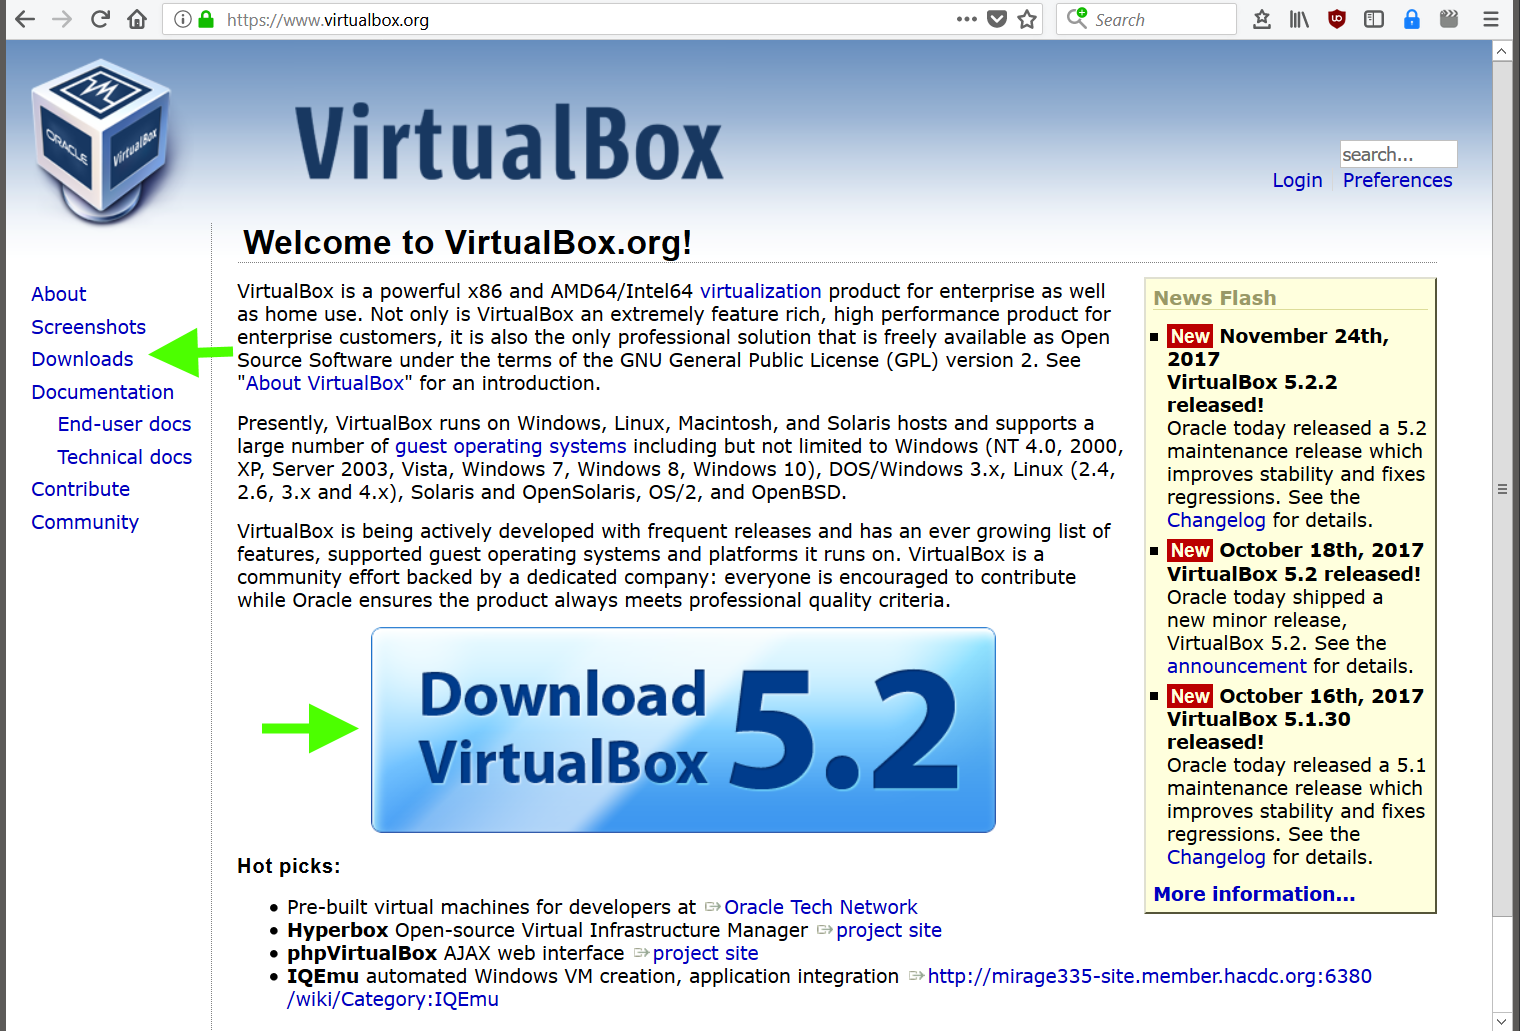
Then click the link which matches your current Operation System, e.g. your Host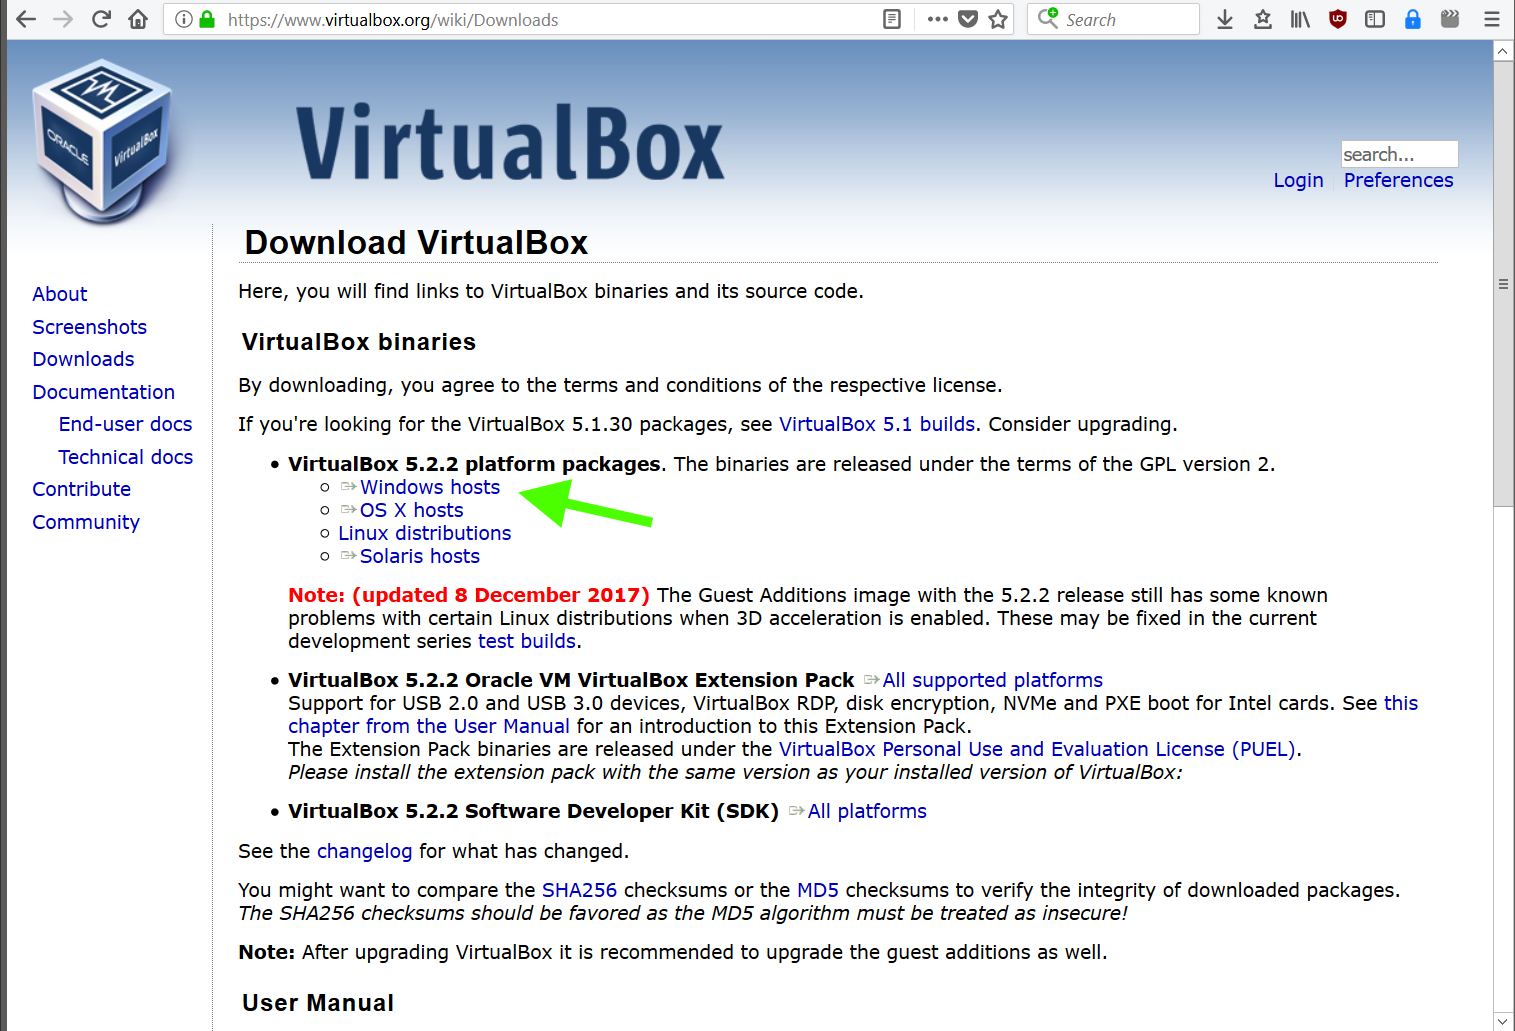
After the download completes, begin installing the VirtualBox softwareThe defaults presented in the installation wizard are fine
Here is a visual guide of the installation wizard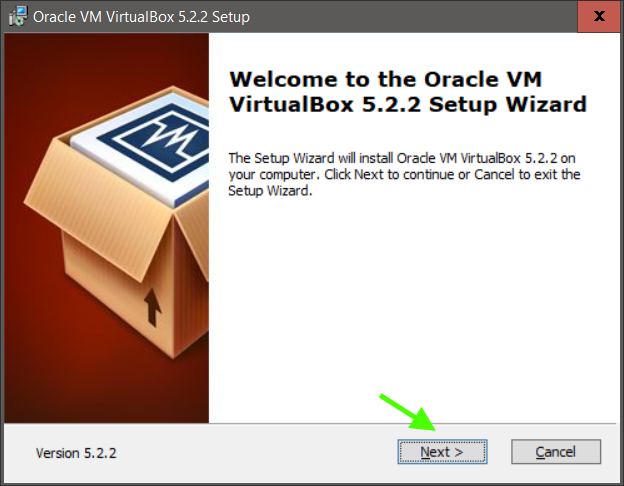
You definitely want USB and Networking support; leave the default options selected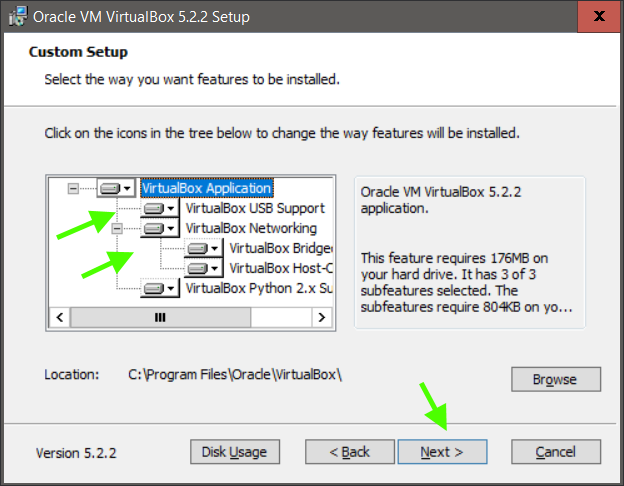
Choose if you want shortcuts everywhere, but leave register file associations checked to facilitate working with VMs later.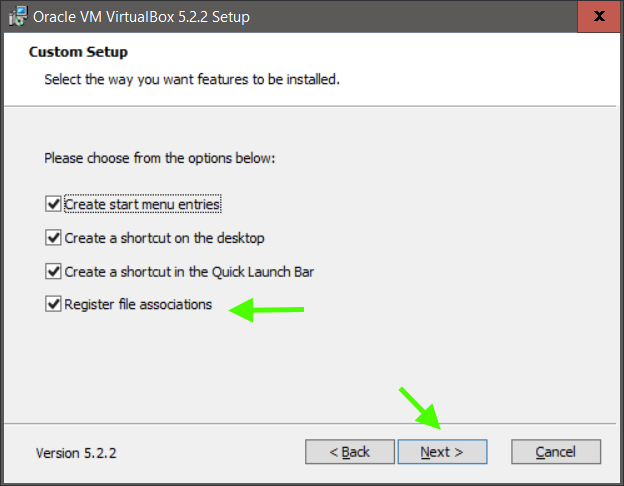
Ah, an important warning, this step will will temporarily interrupt your network connection and cancel any downloads you have going, if any.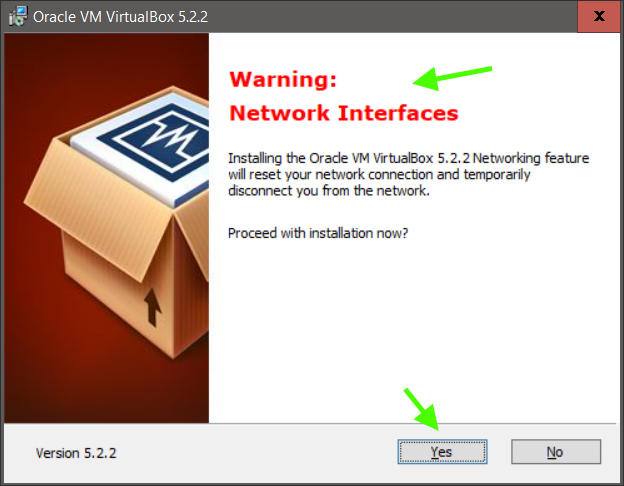
And start installing files.
You may get a Windows prompt regarding Device software. VirtualBox installs a virtual network adapter, so it’s ok and required to accept the install.

And finally you're done installing VirtualBox.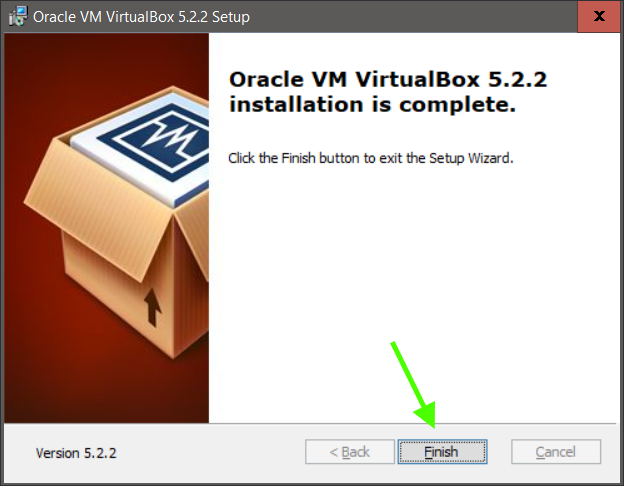
You now have VirtualBox installed.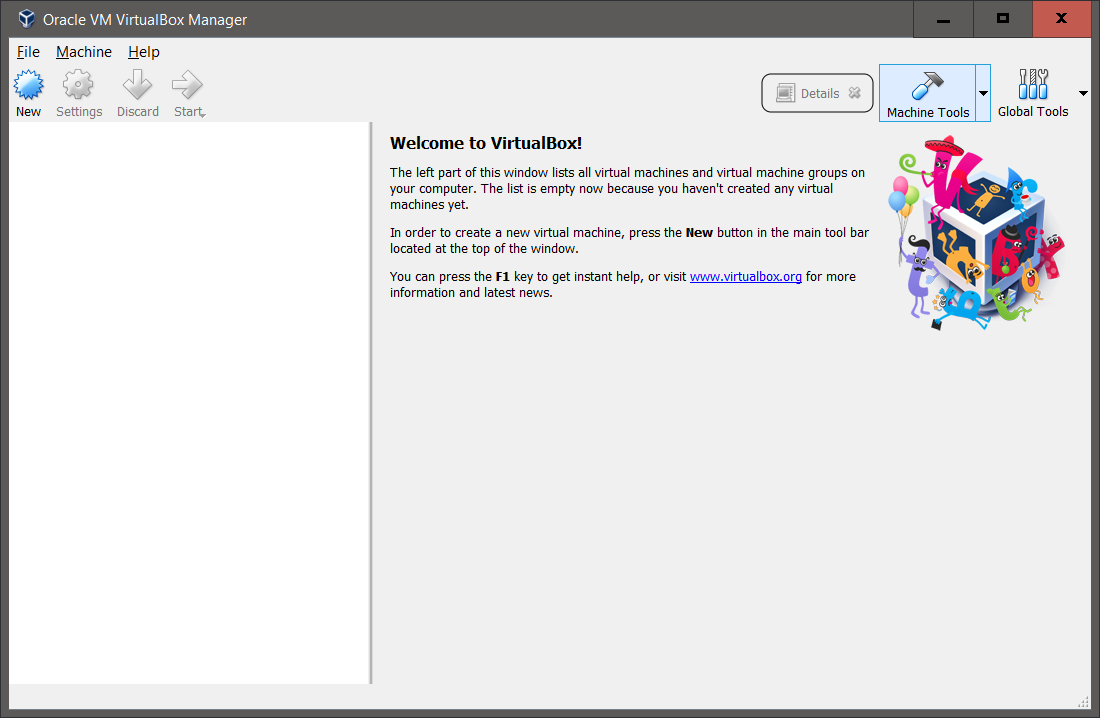
The next step is now to install a Guest also know as a Virtual Machine, which will be covered in the guide How to Install a Ubuntu Virtual Machine.
But for now, a suggestion:
VirtualBox by default stores VMs under
C:\Users\[your username]\VirtualBox VMs
which is fine, but if you plan on testing or developing with multiple VMs, it would be easier to view and backup your VMs from a more accessible location, such as
C:\Users\[your username]\Documents\, C:\VMs, or C:\Dev\VMs
I like C:\Dev\VMs as I tend to use VMs for development and I can place other software, documents, configuration, etc in a common place, which facilitates access and backups.
To configure VirtualBox default save location, click File -> Preferences
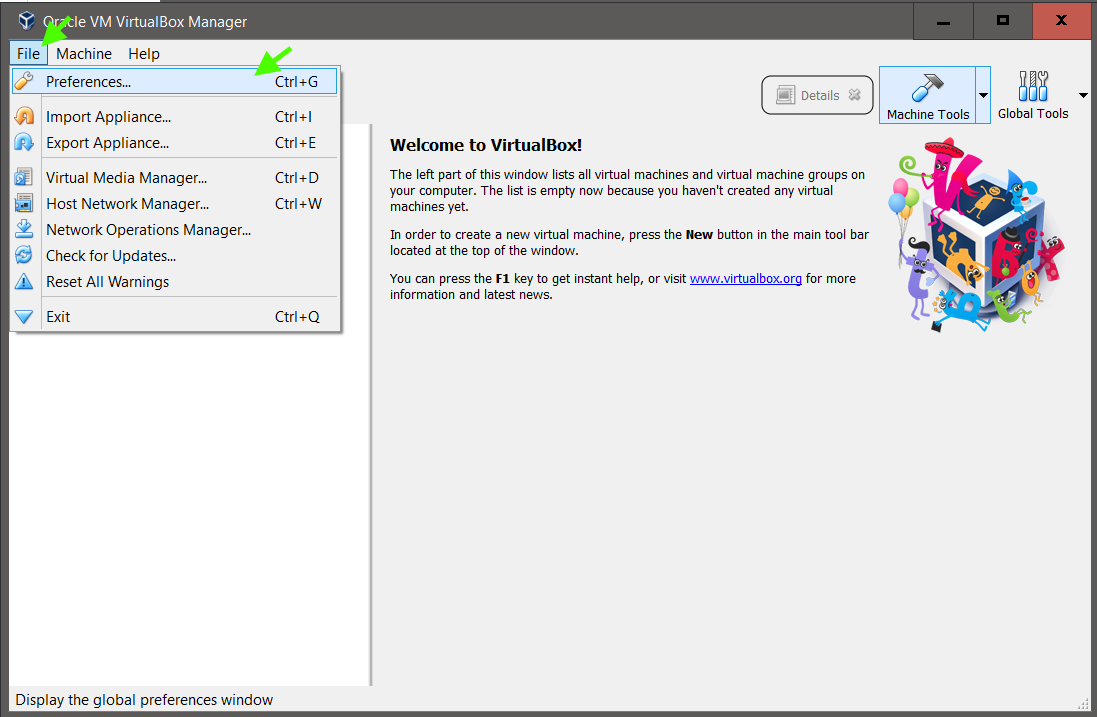
Under General, click Default Machine Folder dropdown and choose Other and browse to your desired location, creating a new folder(s) as required.
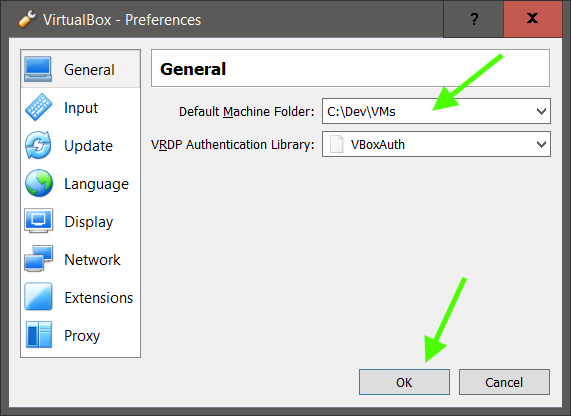
The rest of the preferences are ok, but you may want to click them to be more aware of your options.
End of document. Thanks for reading.