Node.js is a JavaScript runtime which uses an event-driven, non-blocking I/O model.Node.js can be an alternative to Java, PHP, .Net, Python, etc to develop web sites and applications using best convention frameworks such as Express.js, desktop applications using Electron.js, mobile apps using Ionic.js or React Native, to name a few of the possibilities.
Node.js is often referenced as just Node, but for easier internet searching, it is best to stick with nodejs.
Note: Node.js can be installed on multiple platforms, but if you are going to use Node.js to develop mobile apps and you want to be able to use an hardware emulator to test your development, you will need to install Node.js in your Host computer, and not a Guest VM.
Follow this guide to install Node.js in Windows 10
After installing Node.js, let’s go over some background information about React Native and the components required to go from React.js Javascript to a native mobile app.
React Native
React Native lets you build mobile apps using only JavaScript. It uses the same design as React.js, letting you compose a rich mobile UI from declarative components. With React Native, you build a native mobile app as opposed to the more common “write once” solutions which are “web views” or "hybrid apps", such as Ionic, PhoneGap, or Outer Systems, to name a few.Create React Native App
React Native provides a tool named Create React Native App to …. create React Native apps, without installing or configuring any tools to build native code.Note: Xcode, for IOS in Objective-C, and Android Studio, for Android in Java, are the standard development tools to create mobile apps for their respective platforms. React Native on the other hand, utilizes Javascript and compiles to both IOS and Android platforms.
Expo.io
React Native also relies on the library Expo.io for mobile hardware access. Expo.io allows your app to access the mobile devices camera, network, etc using Javascript APIs. Expo is also used to build your final native binary for submission to the app store.Expo app
The Expo app is an app you install on your development, or personal, phone to facilitate development. The Expo app allows for hot deploys ie no compiling, and you do not have to run a hardware emulator, or install any mobile platform tools on your computer. The Expo app is only to facilitate development. When you are ready to build your app, you will not use the Expo app, but you will end up with your own app.Note: If you are looking for a somewhat similar mobile development using Angular.io, Ionic is a solution which uses Cordova for mobile hardware access. Ionic produces a web view app as opposed to a native app provided from React Native.
That’s it for the high level overview.
To install React Native,
Make a directory to store your apps, and change to that directory
> cd C:\Dev\ReactNativeApps
Install the tool Create React Native App
> npm install -g create-react-native-app
Create your first app
Warning: Renaming your React Native app is not simple with about 12 steps to be performed.
But for this initial app to just play with, any name will do.
The tool create-react-native-app will install related libraries so this may take a minute.
> create-react-native-app dev-app-01
Change to the new app directory created
> cd dev-app-01
Install and update associated libraries and start Node.js
> npm start
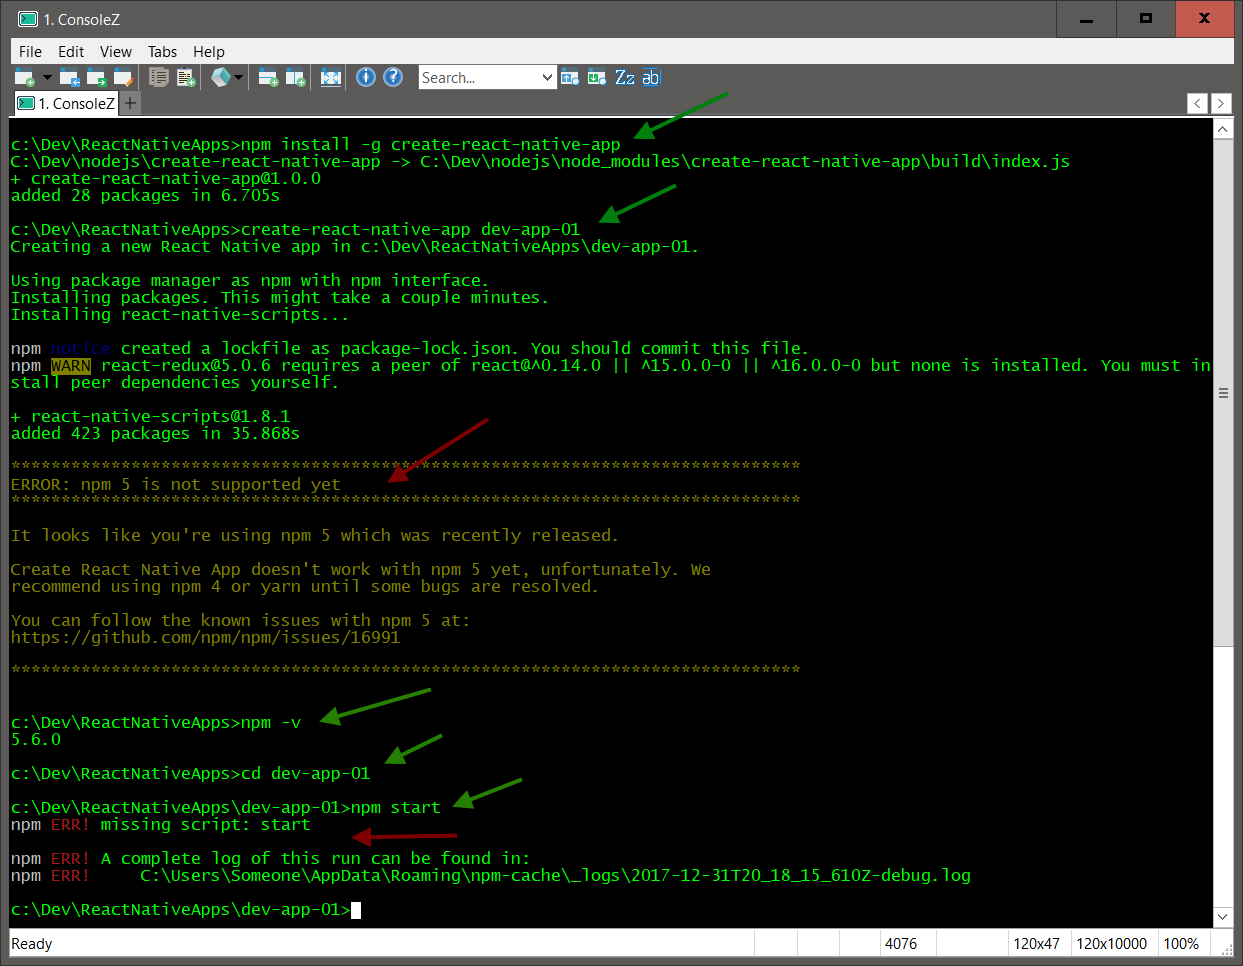
Warning: If you installed Node.js 8, you will most likely have the latest npm which is version 5
However, React Native does not currently work with npm 5, but it does work with npm 4.
To downgrade npm in windows, you need to start the command prompt with Administrator privileges.
Right click on command prompt shortcut and choose Run as Administrator
> npm -v
5.5.1
Downgrade npm to version 4
> npm install -g npm@4
> npm -v
4.6.1

Delete your prior app directory
C:\Dev\ReactNativeApps\dev-app-01,
and recreate it
> create-react-native-app dev-app-01
> cd dev-app-01
> npm
startPackager started!

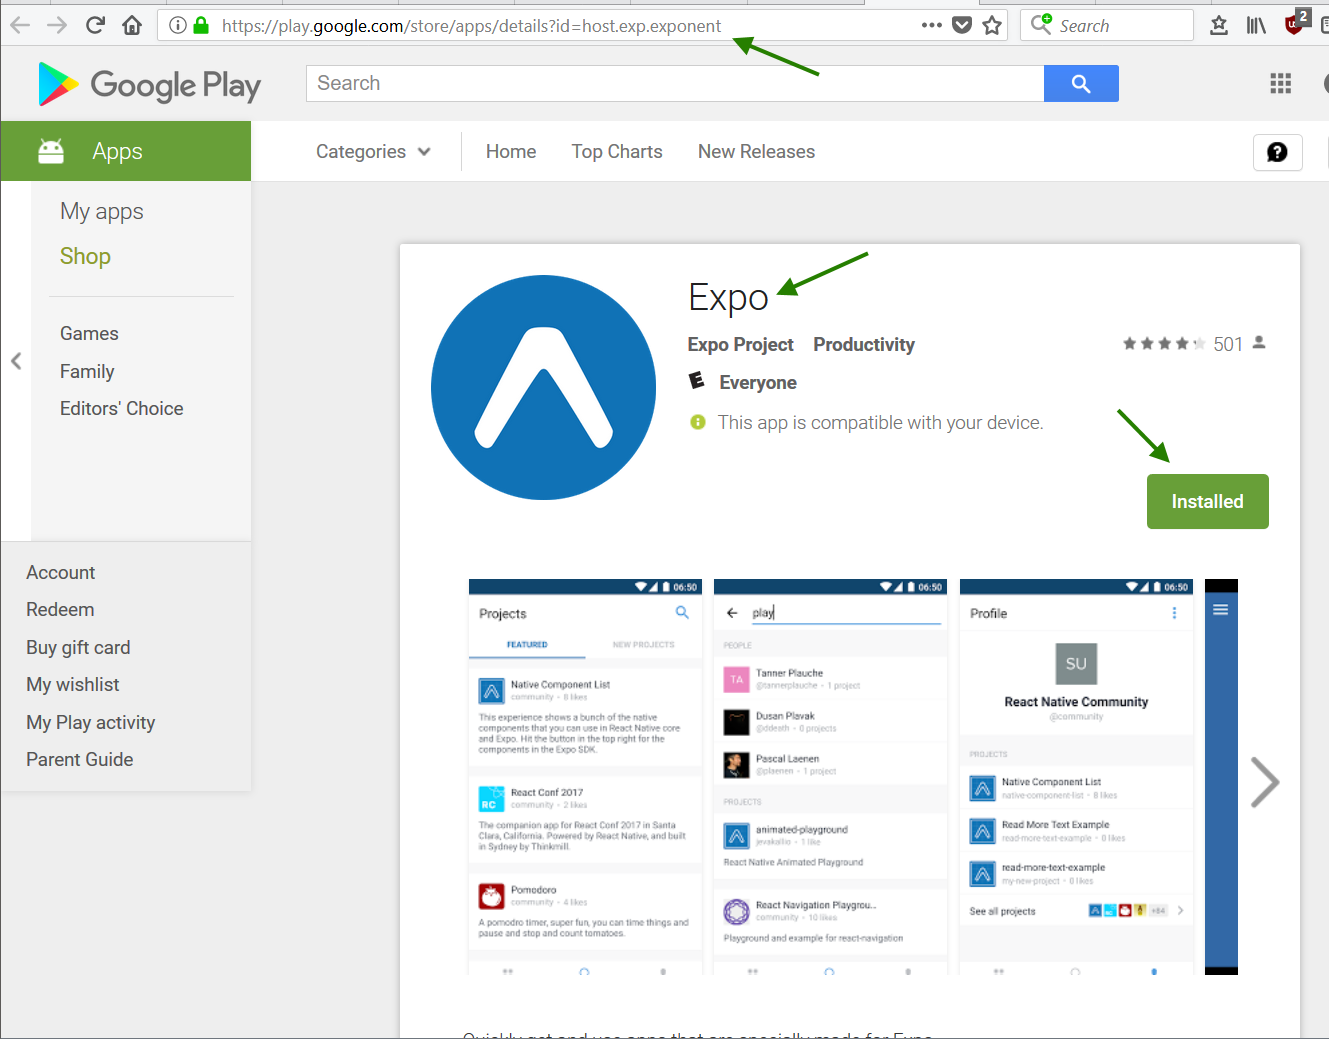
Now you need to install the development app for Expo.io.
Note: The Expo app is only to facilitate development. As you make changes to your code, and save, your changes will automatically be deployed and reflected within the app on your mobile device. So you do not have to run a hardware emulator, or install any mobile platform tools. When you are ready to build your app, you will not use the Expo app, but you will end up with your own app.
Expo @ Google Play Store
Expo Client @ Apple App Store
Open the Expo app on your phone, and click Scan QR CodeScan the QR Code that is in your terminal

If your app loads, great!, if it times out, then maybe your phone and computer are not on the same network.
Warning: The network interface React Native binds to may not be the same wireless network as your computer. This will most likely occur if you have multiple network devices from installing Virtualbox or a VPN.
Type ipconfig to see your network devices
> ipconfig

You can either change the network priority, or forward the port
To change the network priority, open the Control Panel and navigate to:
Control Panel -> Network and Internet -> Network and Sharing Center -> Change adapter settings
For each network connection,
Right click -> properties -> Edit ipv4 properties -> click Advanced -> Uncheck Automatic metric
For your primary network connection, the one which the Expo app on your phone will connect to, enter a lower unique metric, such as 10. For the other network connections, such as Virtualbox, enter a larger unique metric, such as 20.

Stop React Native, from the command prompt,
Ctrl+C
And re-start React Native
> npm start

Open the Expo app againSelect Scan QR Code or select the Recently visited app.

Your app should now load. It may take a few minutes for the first loading to complete.

Any changes you make to your app will now be automatically reflected in your app aka hot reloading.
Open the file app.js in your app directory
C:\Dev\ReactNativeApps\dev-app-01\app.js
Note: You can use any text editor or ide, but VSCode, Netbeans, Geany, or Notepad++ are good choices.
And change the text block
<Text>Open up App.js to start working on your app!</Text>
To anything, such as
<Text>It works!</Text>

Save and the text changes should appear in your app.

Note: If the change does not appear, close the app (not minimize) and re-open it from Expo.You can also shake the phone (-sign-, why not an option in the pull down?) to show developer options and enable hot reloading, if it isn’t already.

Ctrl+C in the console to stop React Native.
Now, that was a lot of stuff,
but going forward with your next apps, it should be much simpler with just:
> create-react-native-app my-cool-app
> cd my-cool-app
> npm start
