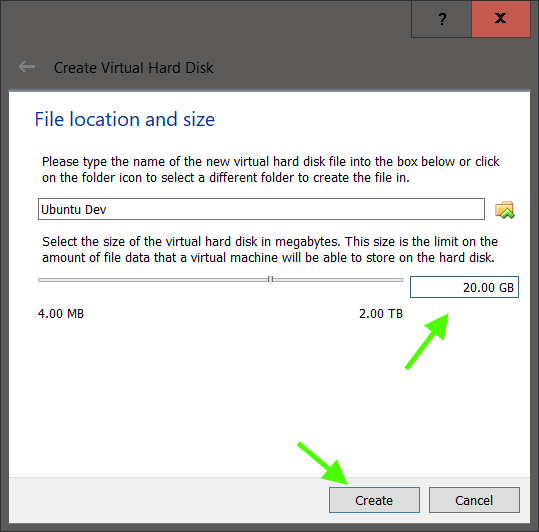
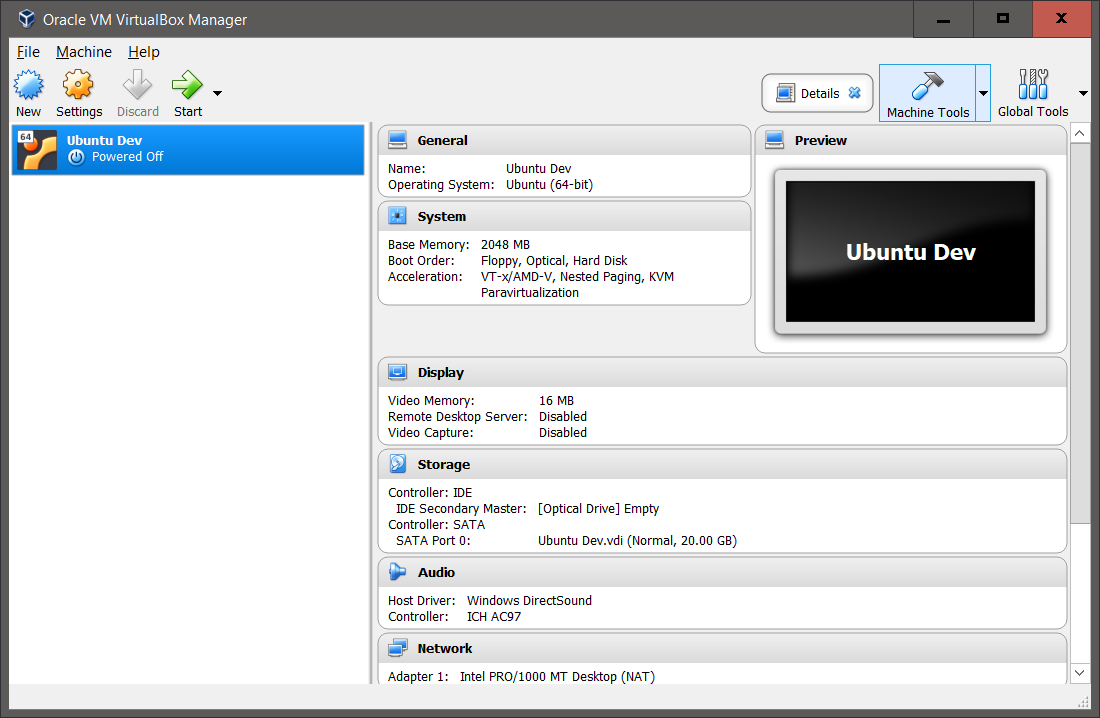
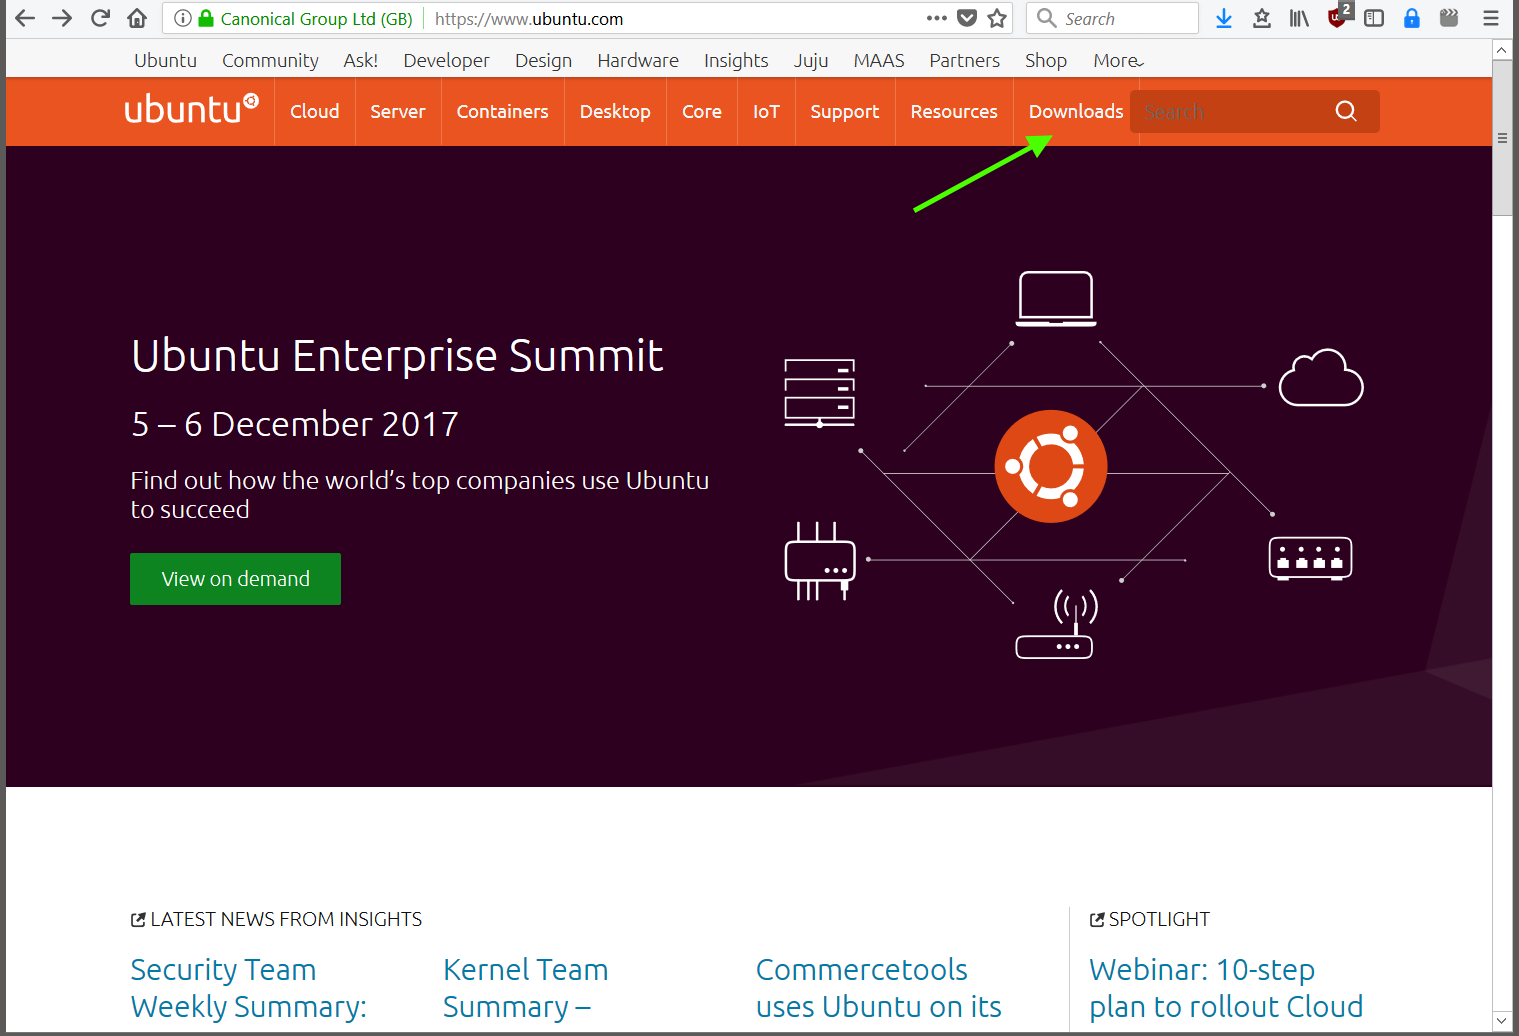
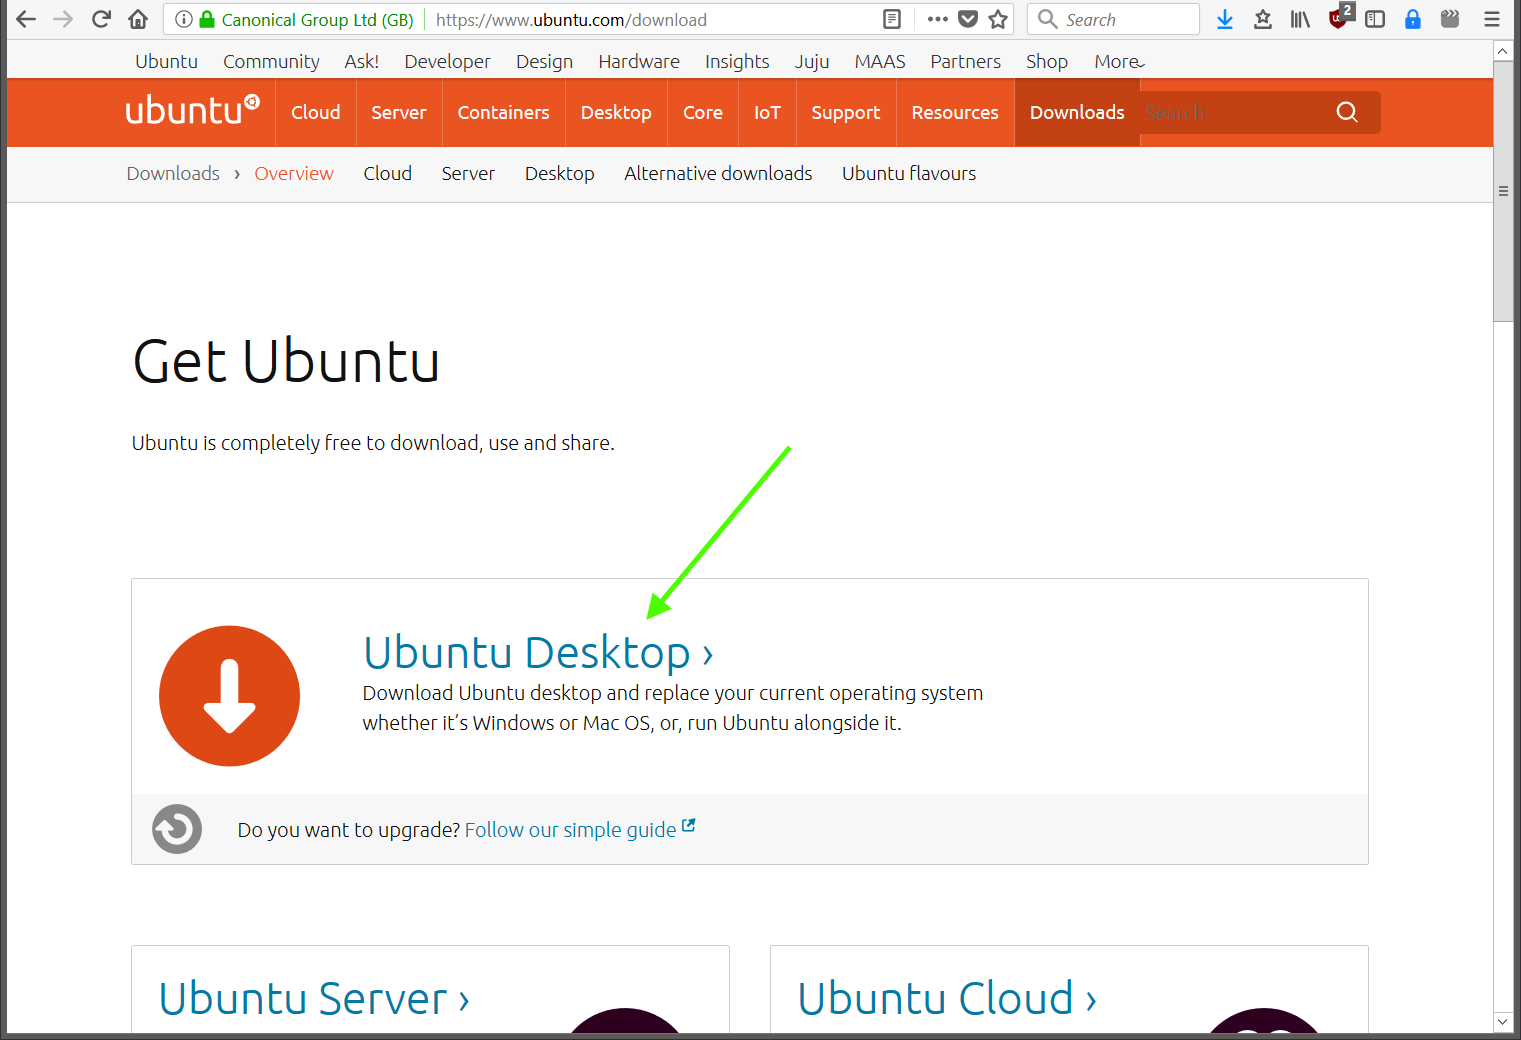
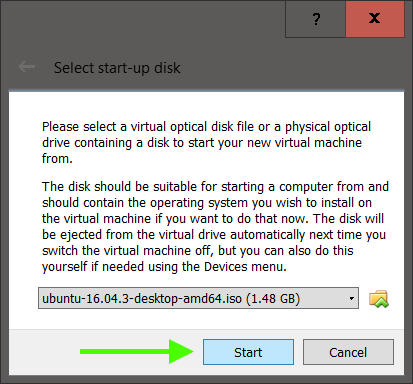
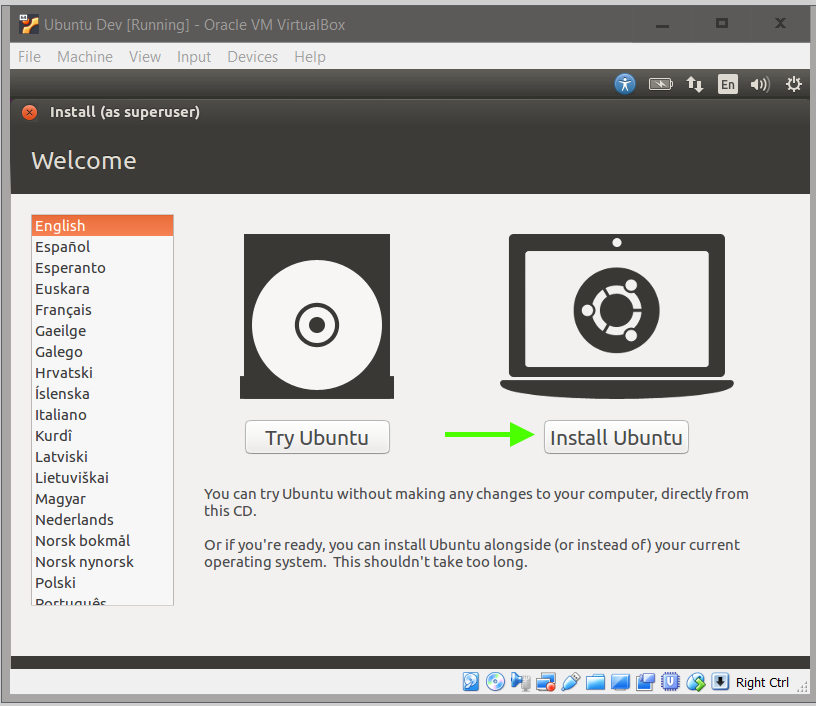
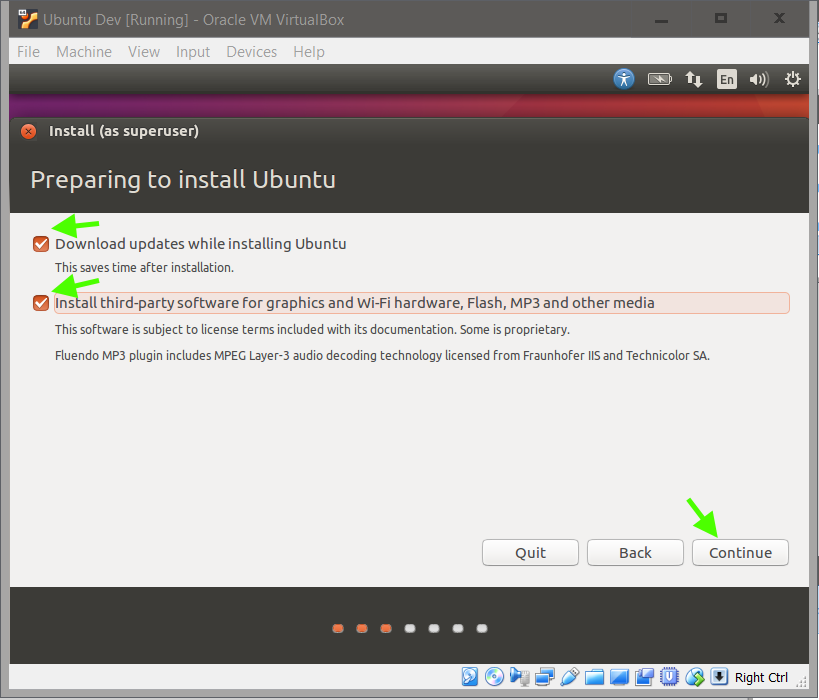
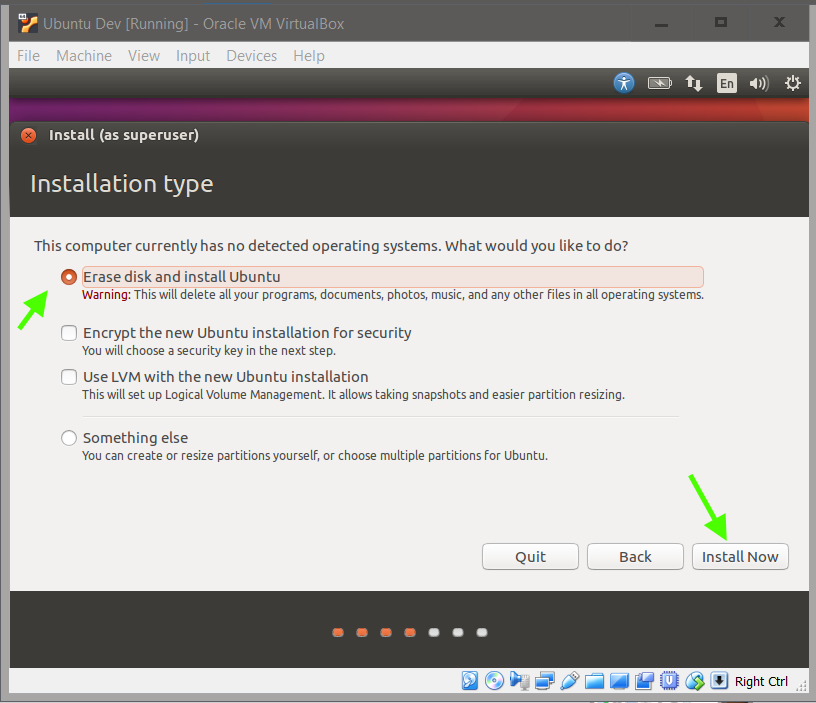
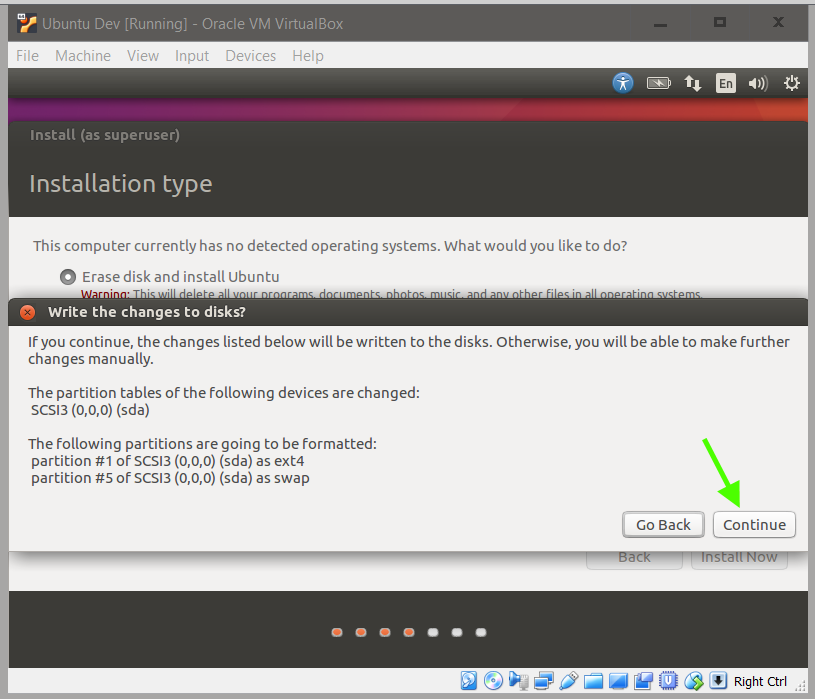
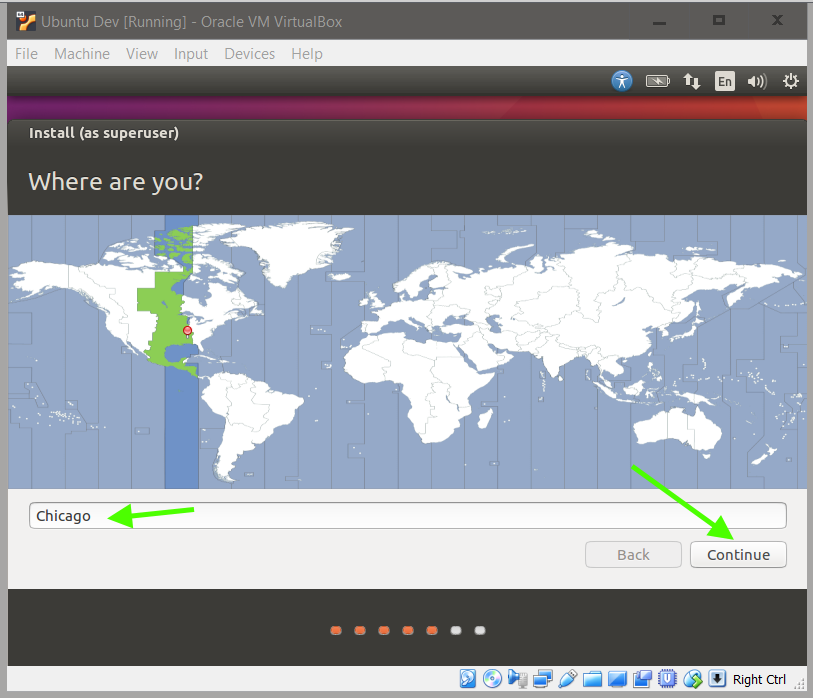
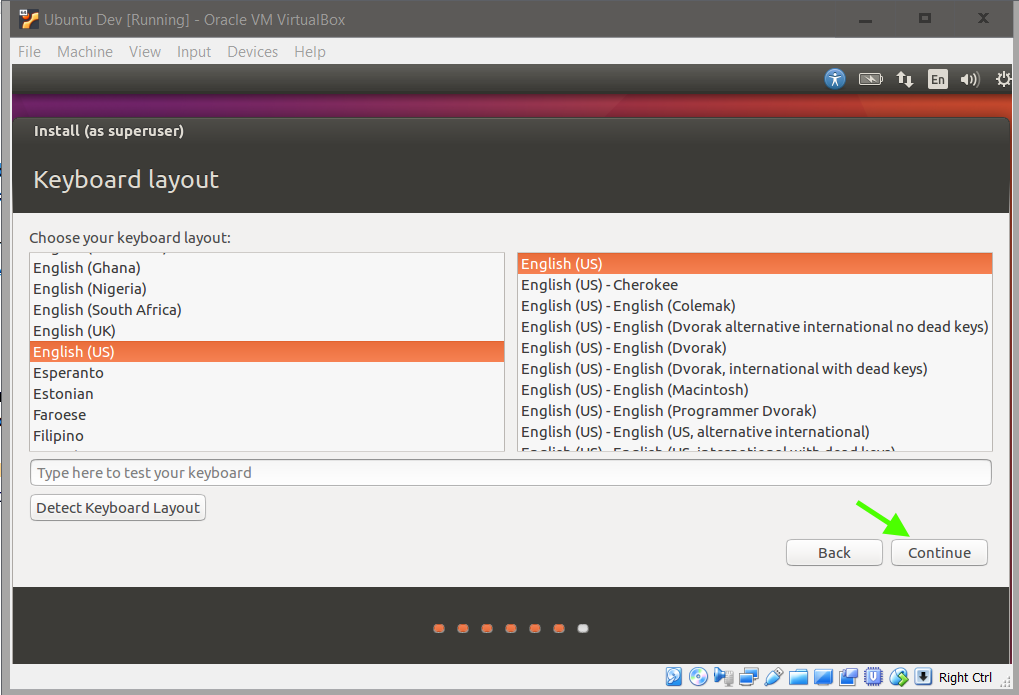
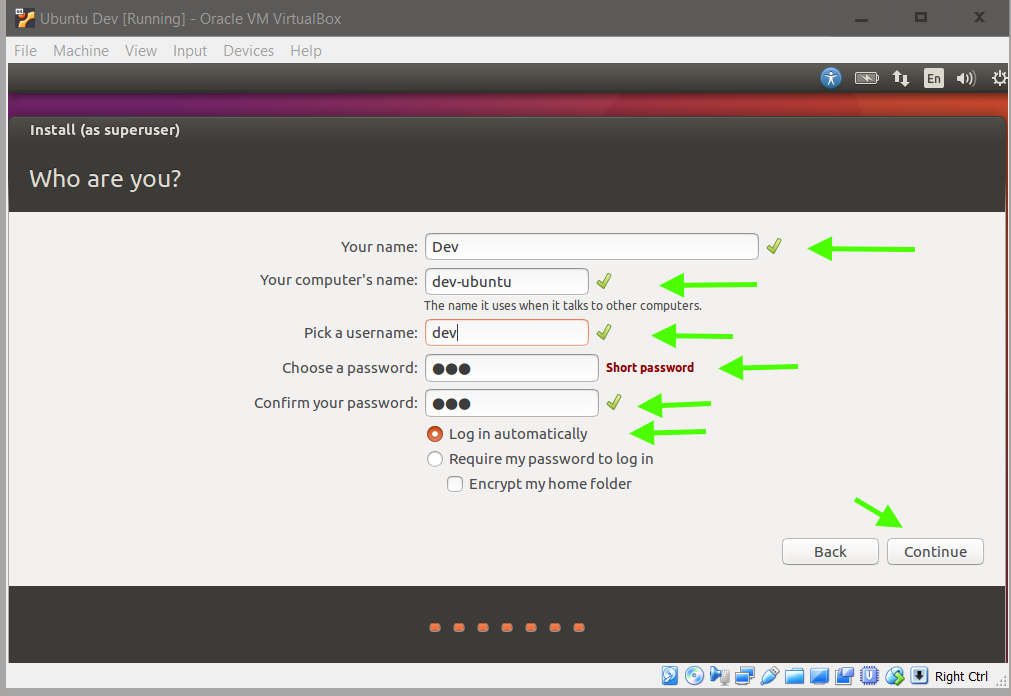
In virtualization software terms, your computer is called the Host, while the other Operating Systems, or OSs for short, you install through the virtualization software, VirtualBox, are called Guests. Guests are often called Virtual Machines, or Guest VMs, or VMs for short. You can install as many Virtual Machines as you want. So you can try Ubuntu, Mint Linux, Windows Insider, Windows Server, Mac OSX, etc all from within your current Windows or Linux Host. The Virtual Machines are also self contained within one folder so you can backup or transfer the Virtual Machine to another computer. Thus you have a portable Operating System; of course, with the requirement of installing VirtualBox on the other Host computer.
The following steps will show you how to install a Ubuntu Virtual Machine, aka VM.
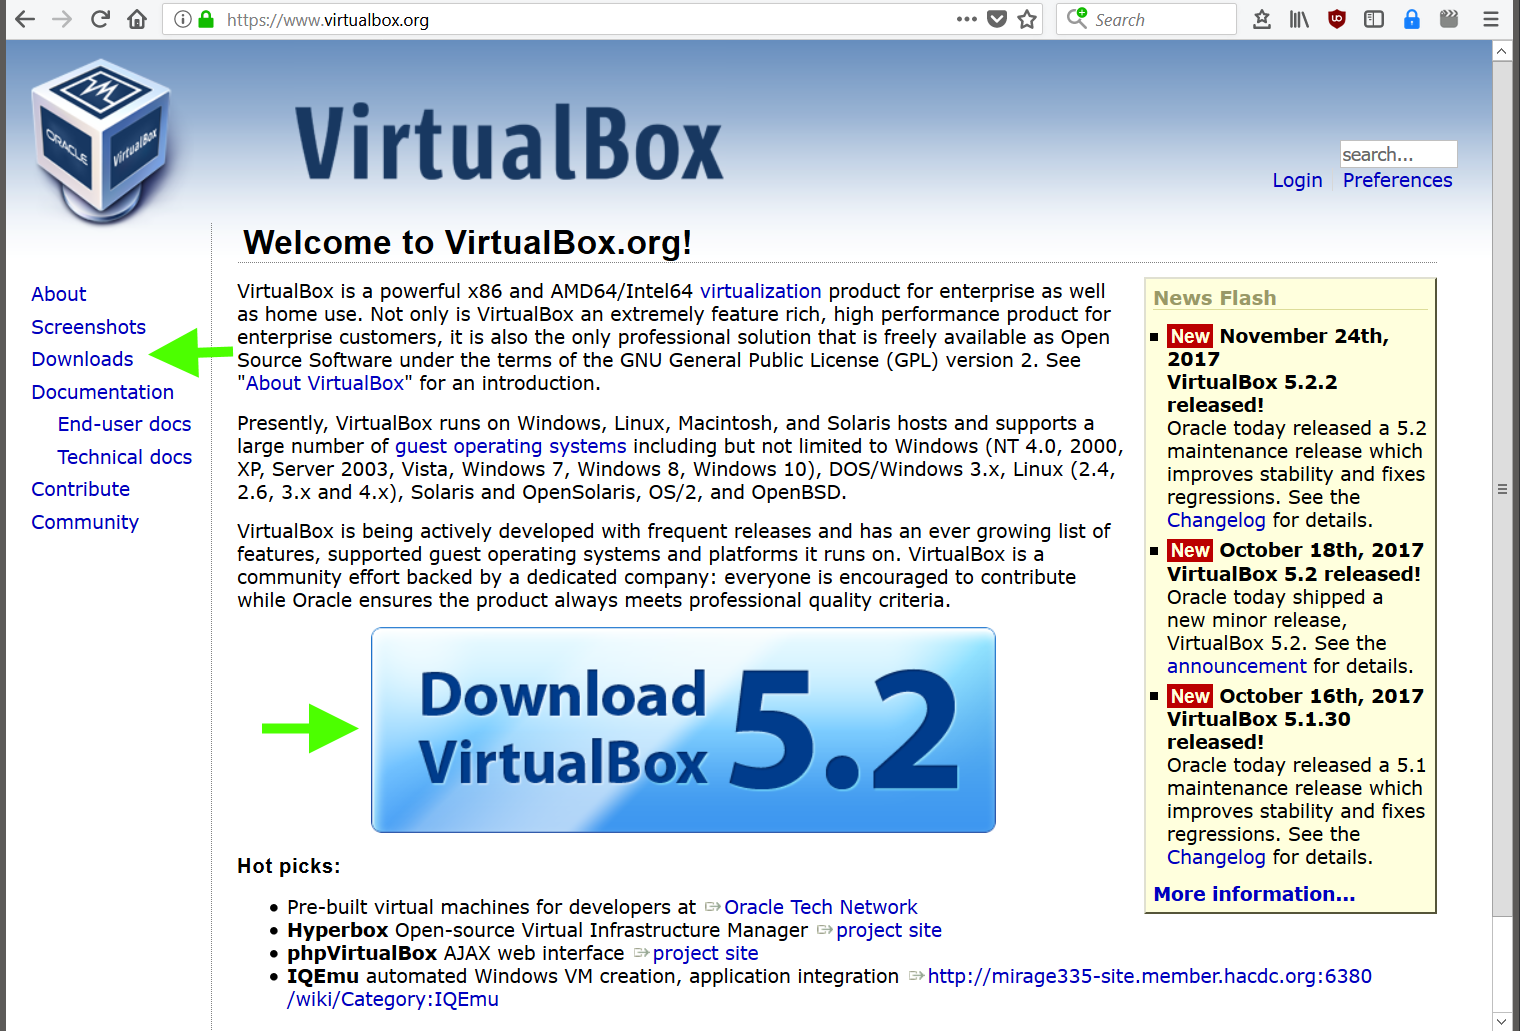
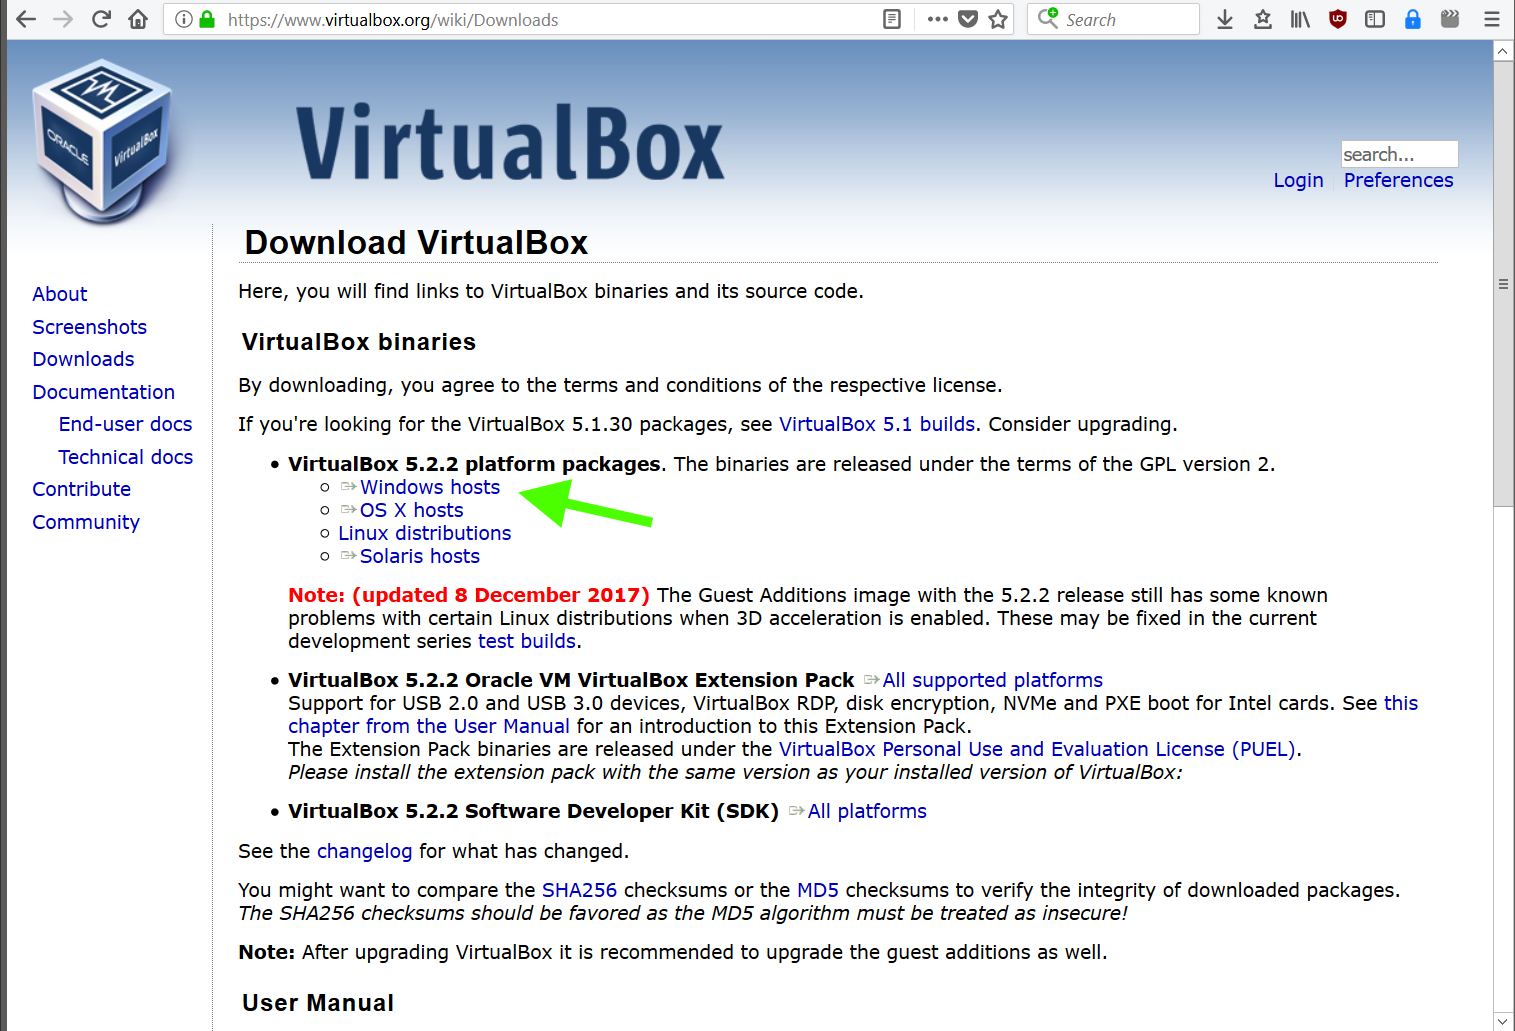
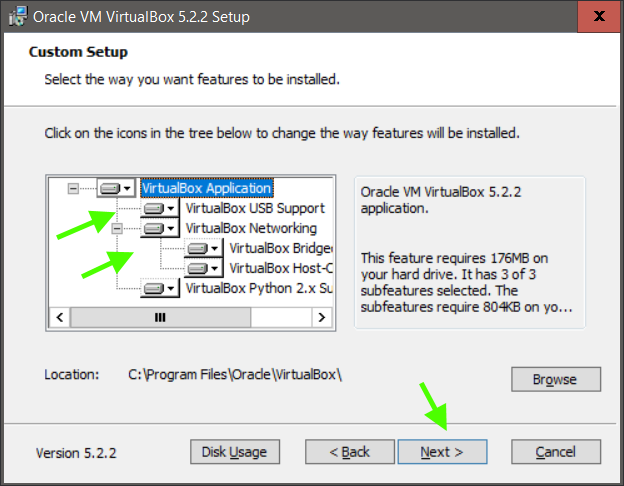
Requirements: VirtualBox needs to be installed. You can follow this guide How to Install VirtualBox
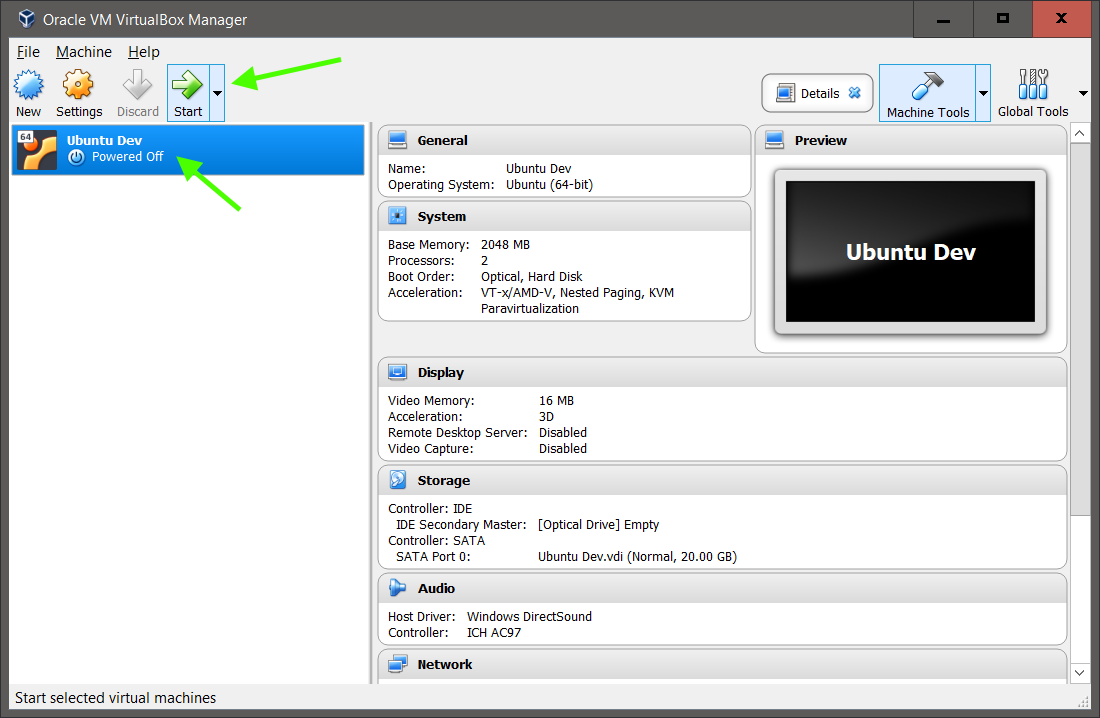
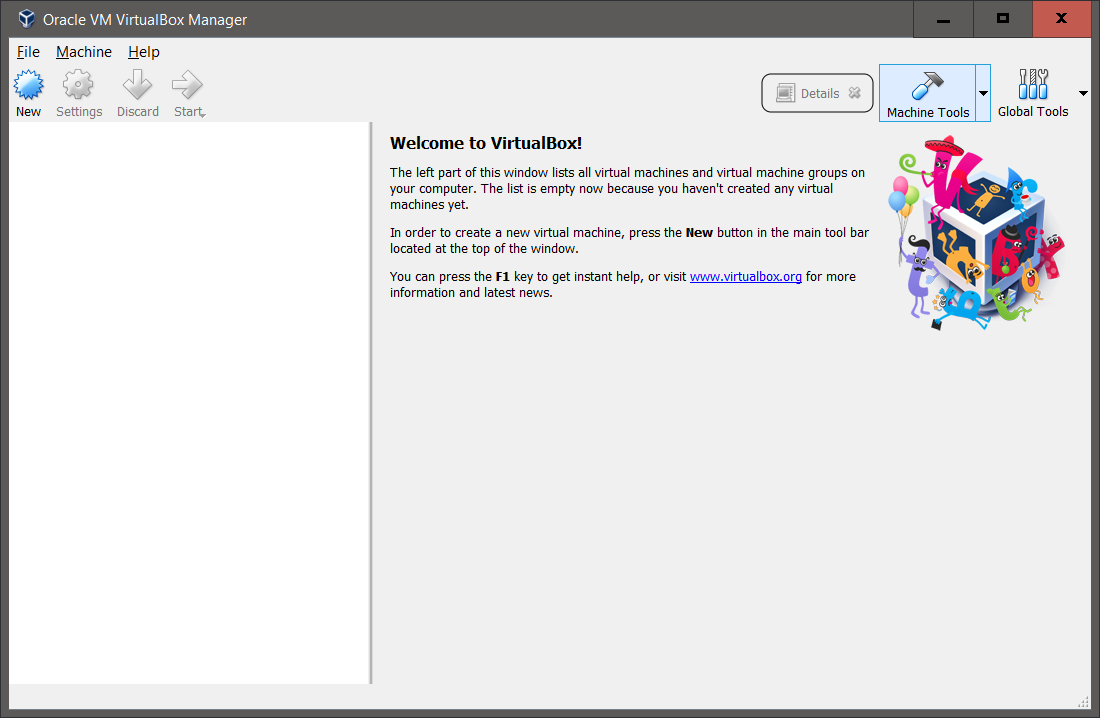
Launch VirtualBox
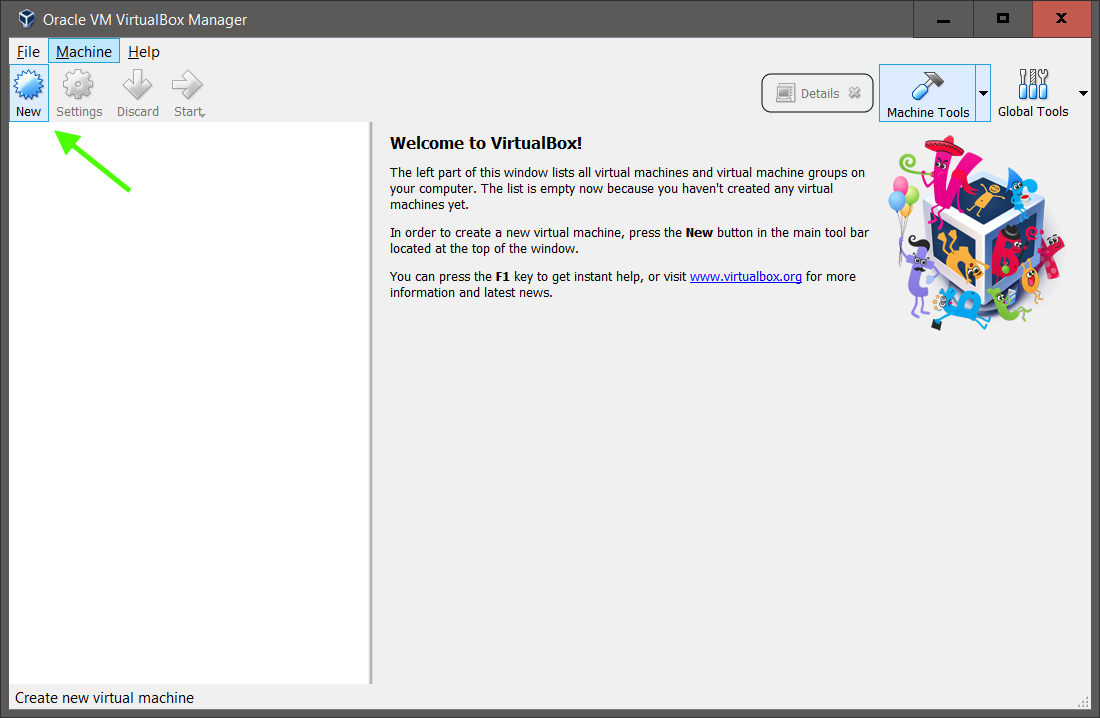
Click the New button from the toolbar to create a new VM.
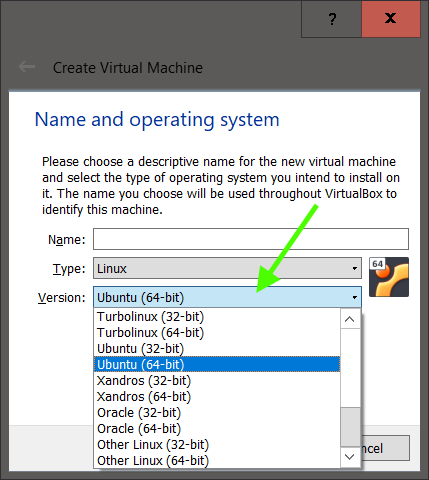
As this guide is to install Ubuntu, choose Linux as the Operating System

Ubuntu is already selected as the Version, but there are multiple Linux versions supported plus Other Linux for any other version aka flavor of Linux.
Note: While you can install a Windows VM from a Windows Host, you will need a separate product key for each Windows VM to use the Windows VM past the evaluation period.
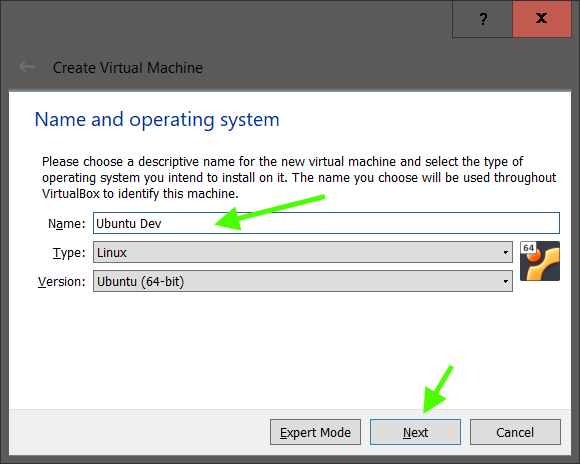
You can always rename the VM later, but the initial name will set the folder name the VM is stored under.
Expert Mode shows all the screens at once while Guided splits the screens into multiple steps.
Click Next
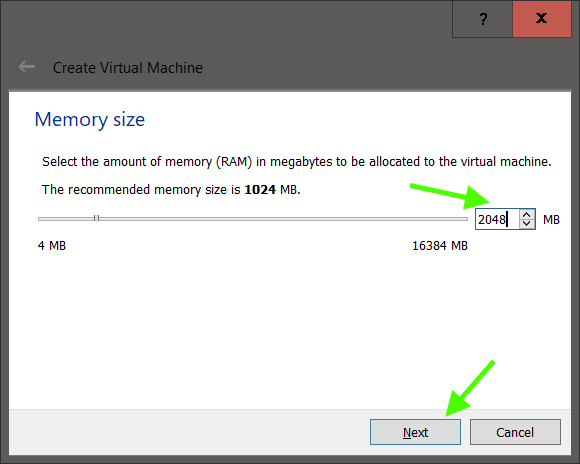
Choose an amount of memory to be reserved for the VM from the Host. Most OSs can run ok with 2048MB aka 2GB of memory. If you have more memory and this is the only VM you will run at a time, you can allocate more memory. But the memory allocated to the VM will no longer be available to the Host. Usually leaving more memory for the Host will keep your computer running smoothly.