Blog
- Details
This is a series of posts which will list some useful apps for development and general usage of Windows. These are just some examples of what can be useful. Of course, use any app you already know or have.
tweak windows:
Open Shell
https://github.com/Open-Shell/Open-Shell-Menu
Start menu replacement with Classic style Start Menu for Windows 7, 8, 8.1, 10 and Toolbar for Windows Explorer

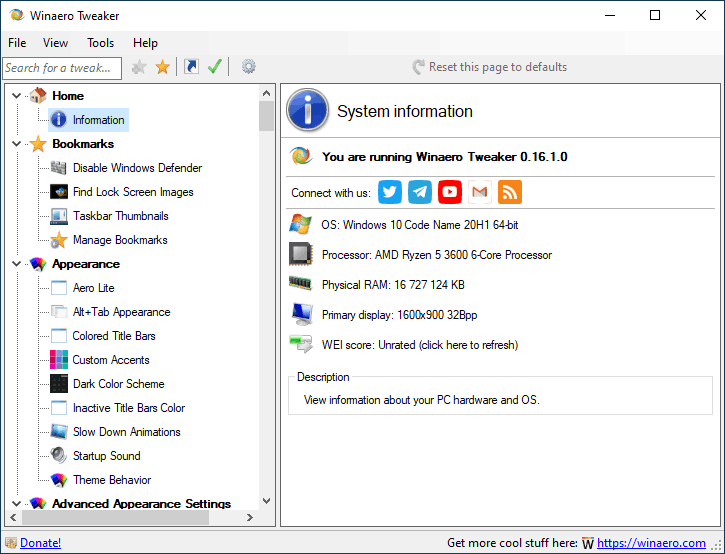
Winaero Tweaker
Winaero Tweaker is a freeware app, all-in-one application that comes with dozens of options for fine-grained tuning of various Windows settings and features.
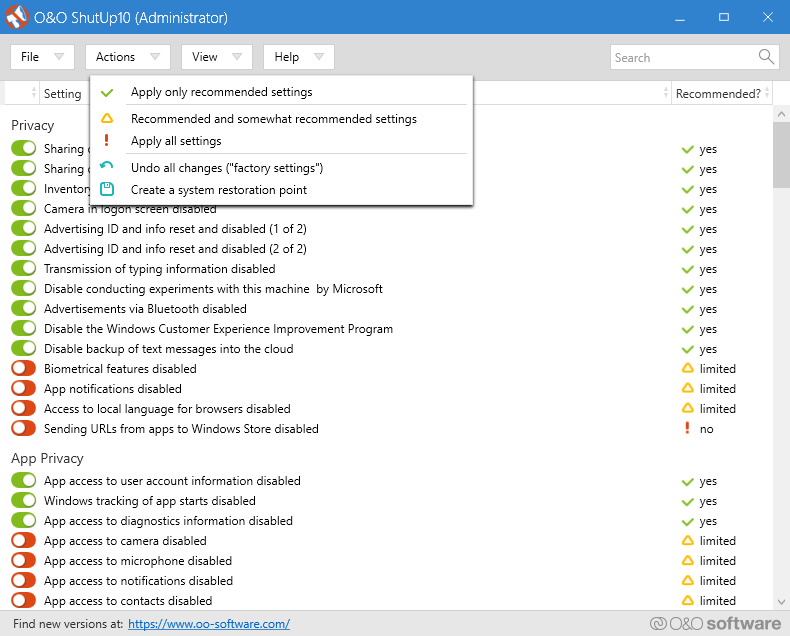
O&O ShutUp10
https://www.oo-software.com/en/shutup10
O&O ShutUp10 means you have full control over which comfort functions under Windows 10 you wish to use, and you decide when the passing on of your data goes too far. Using a very simple interface, you decide how Windows 10 should respect your privacy by deciding which unwanted functions should be deactivated.
- Details
This is a series of posts which will list some useful apps for development and general usage of Windows. These are just some examples of what can be useful. Of course, use any app you already know or have.
maintenance/security/utilities:
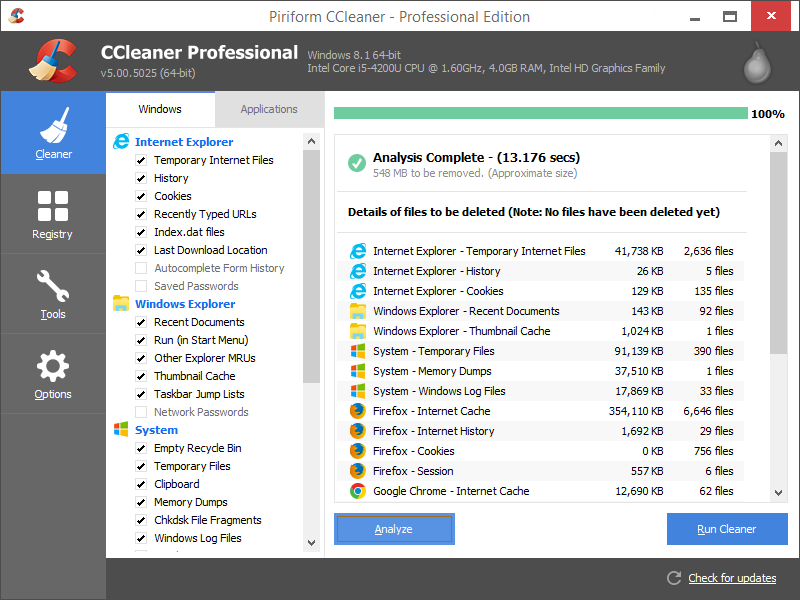
CCleaner
https://www.ccleaner.com/ccleaner/
CCleaner is the number-one tool for cleaning your PC.
It protects your privacy and makes your computer faster and more secure!
Malwarebytes
https://www.malwarebytes.com/for-home/
Malwarebytes doesn’t just find threats like malware and viruses, it also finds potentially unwanted programs that can slow you down. Malwarebytes protects all your devices and personal info from threats, so you can shop, play, and connect without a second thought.
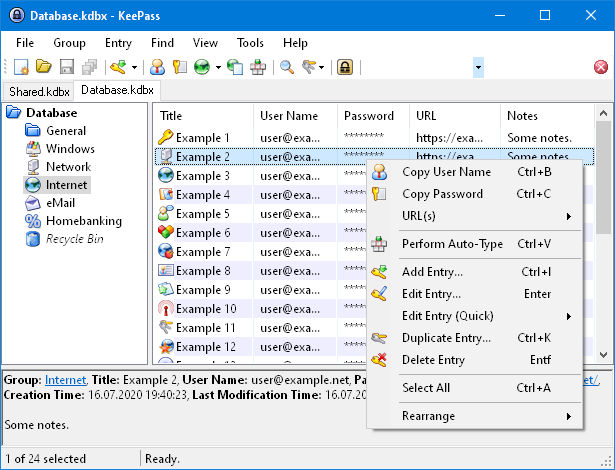
KeePass
KeePass is a free open source password manager, which helps you to manage your passwords in a secure way. You can store all your passwords in one database, which is locked with a master key. So you only have to remember one single master key to unlock the whole database. Database files are encrypted using the best and most secure encryption algorithms currently known
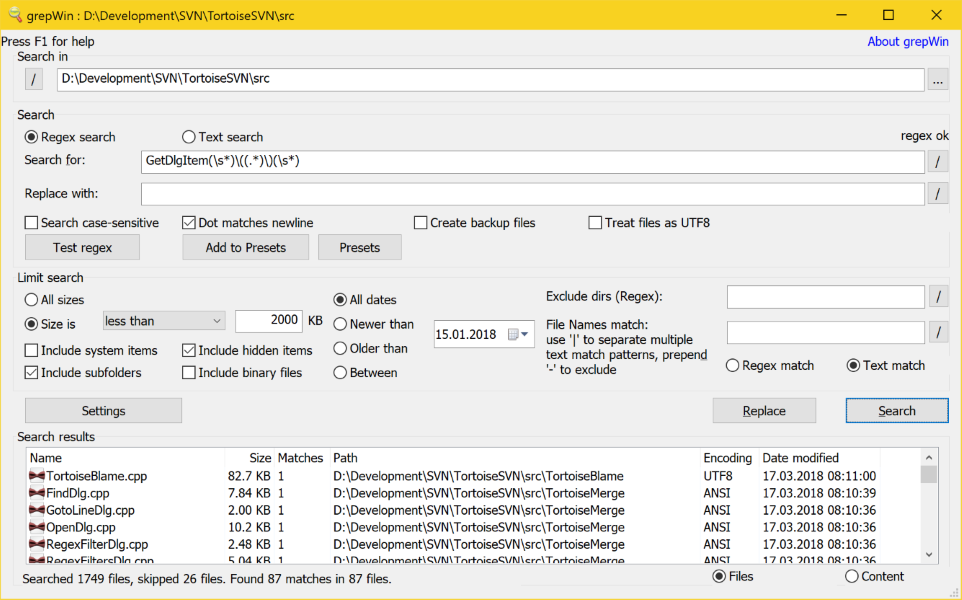
grepWin
https://github.com/stefankueng/grepWin
grepWin is a simple search and replace tool which can use regular expressions to do its job. This allows to do much more powerful searches and replaces.
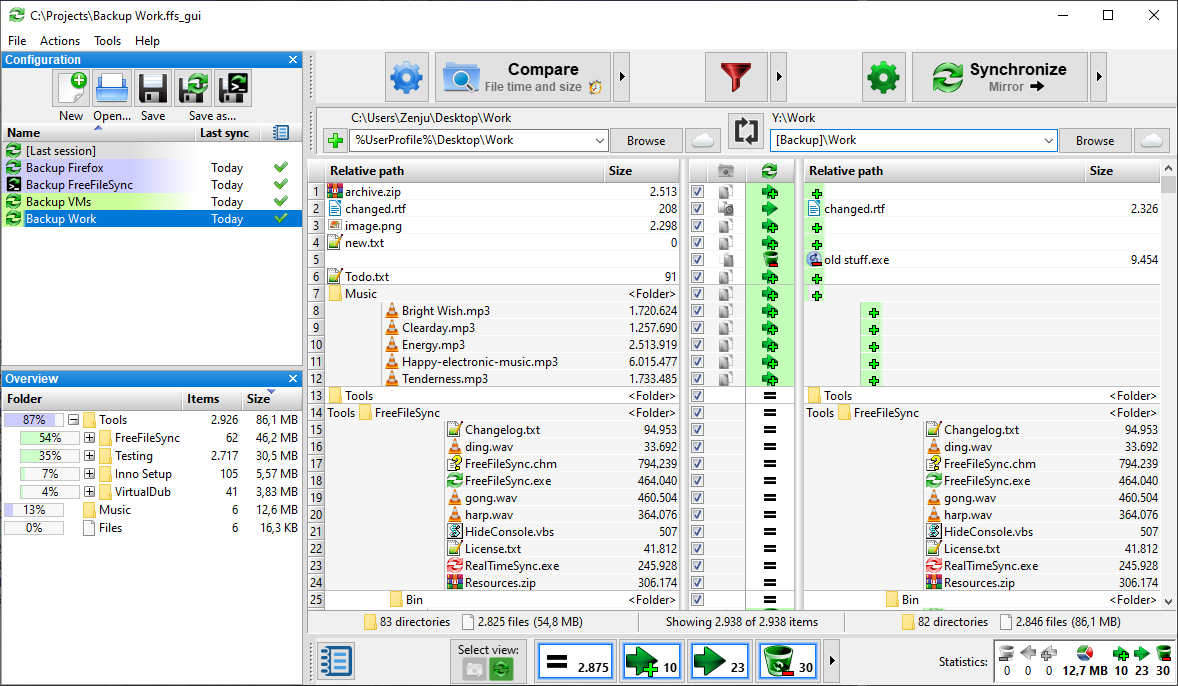
FreeFileSync
FreeFileSync is a folder comparison and synchronization software that creates and manages backup copies of all your important files. Instead of copying every file every time, FreeFileSync determines the differences between a source and a target folder and transfers only the minimum amount of data needed. FreeFileSync is Open Source software, available for Windows, macOS, and Linux.
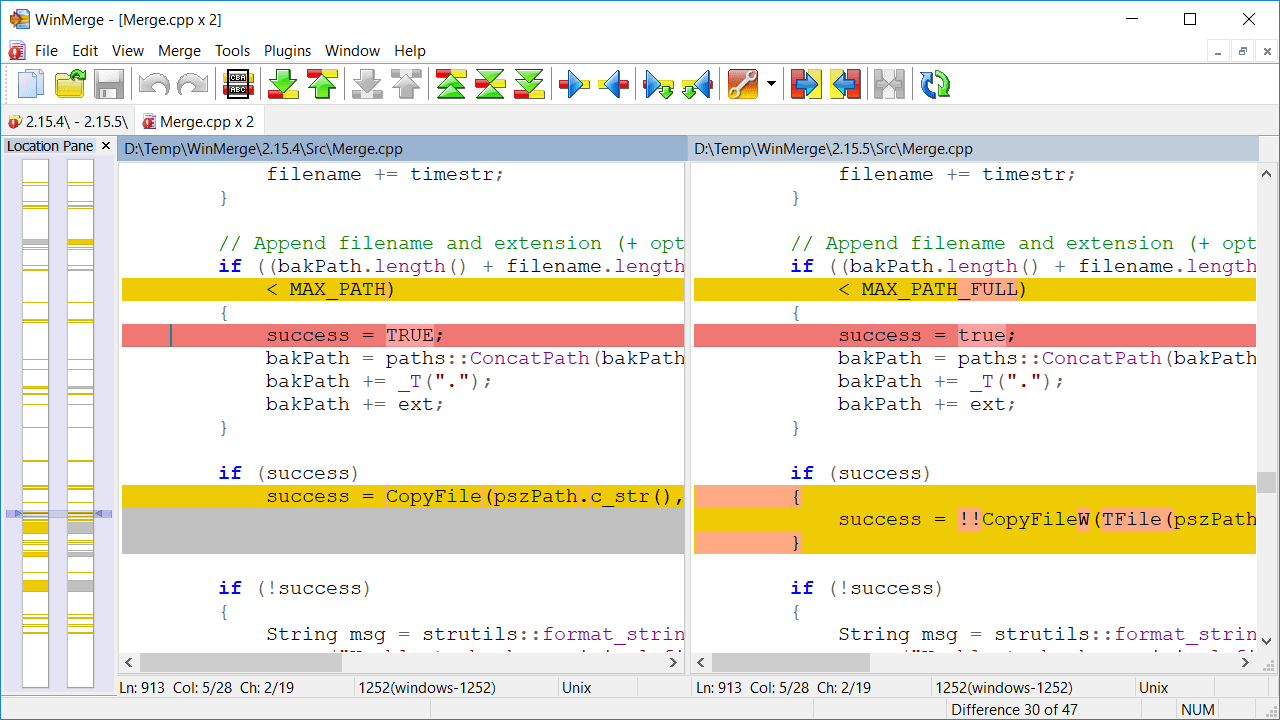
WinMerge
WinMerge is an Open Source differencing and merging tool for Windows. WinMerge can compare both folders and files, presenting differences in a visual text format that is easy to understand and handle.
- Details
This is a series of posts which will list some useful apps for development and general usage of Windows. These are just some examples of what can be useful. Of course, use any app you already know or have.
code editor:
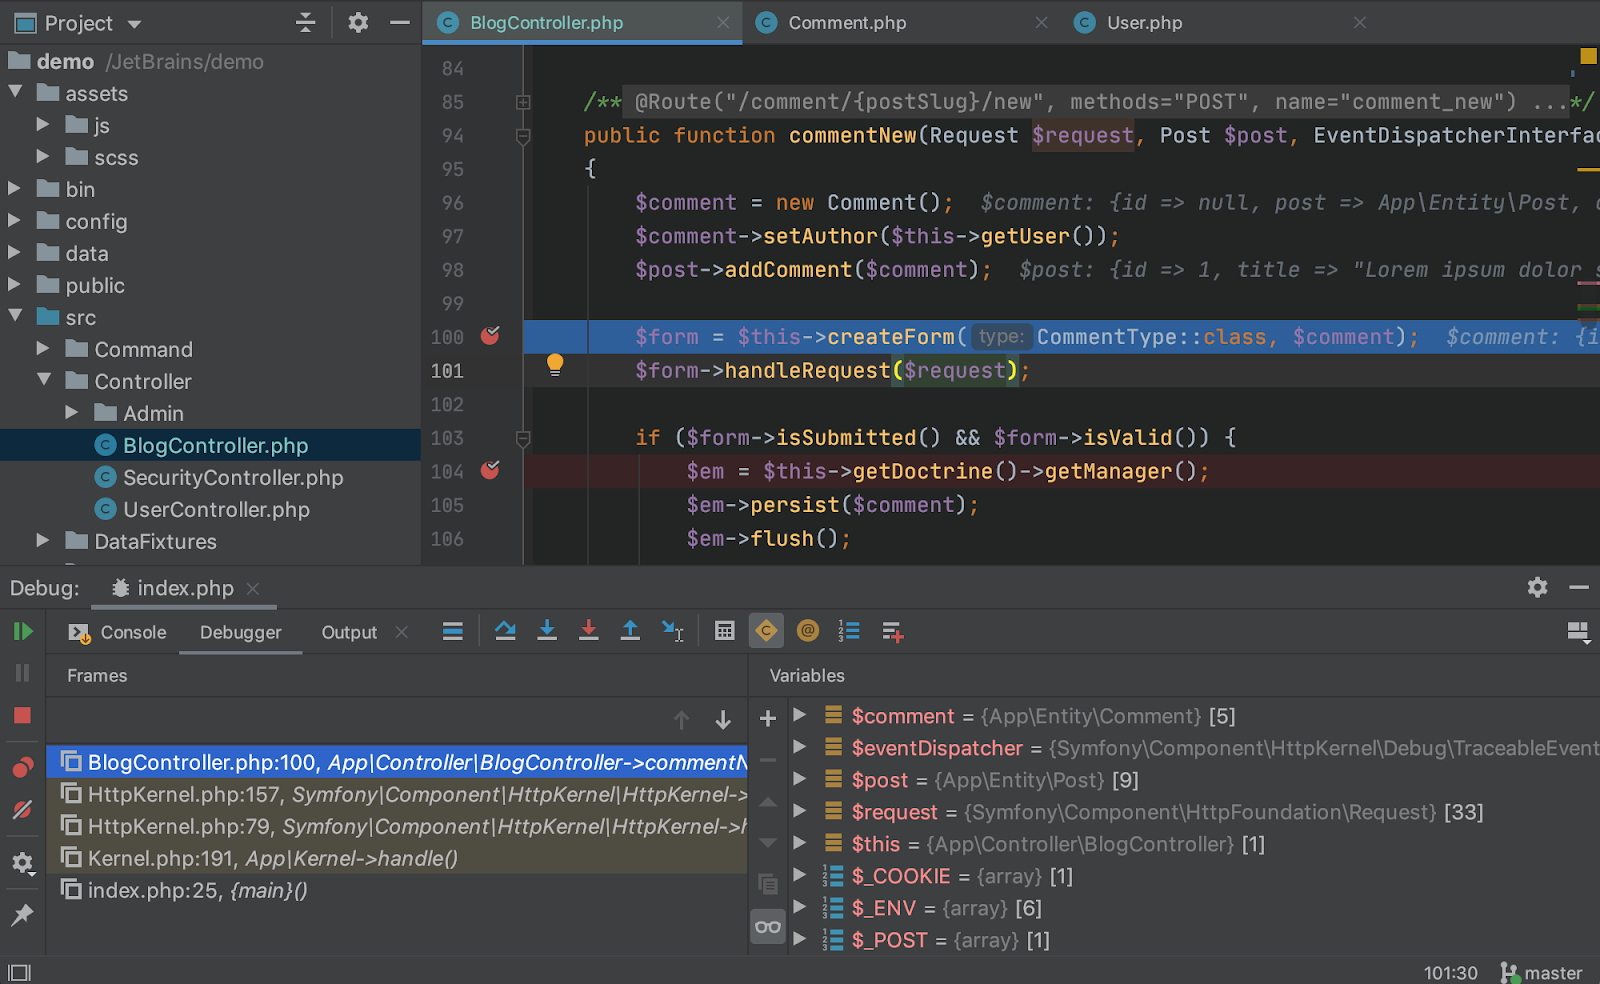
PHPStorm
https://www.jetbrains.com/phpstorm/
PHPStorm actually 'gets' your code and deeply understands its structure, supporting all the PHP language features for modern and legacy projects. It provides the best code completion, refactorings, on-the-fly error prevention, and more.
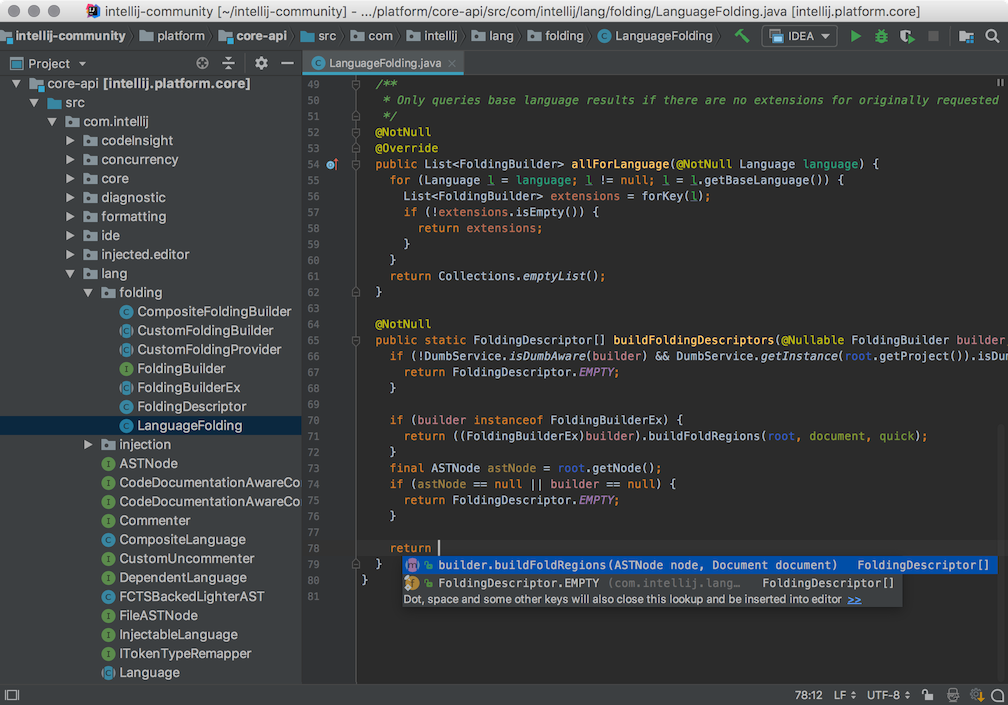
IntelliJ IDEA
https://www.jetbrains.com/idea/
Every aspect of IntelliJ IDEA has been designed to maximize developer productivity. Together, intelligent coding assistance and ergonomic design make development not only productive but also enjoyable.
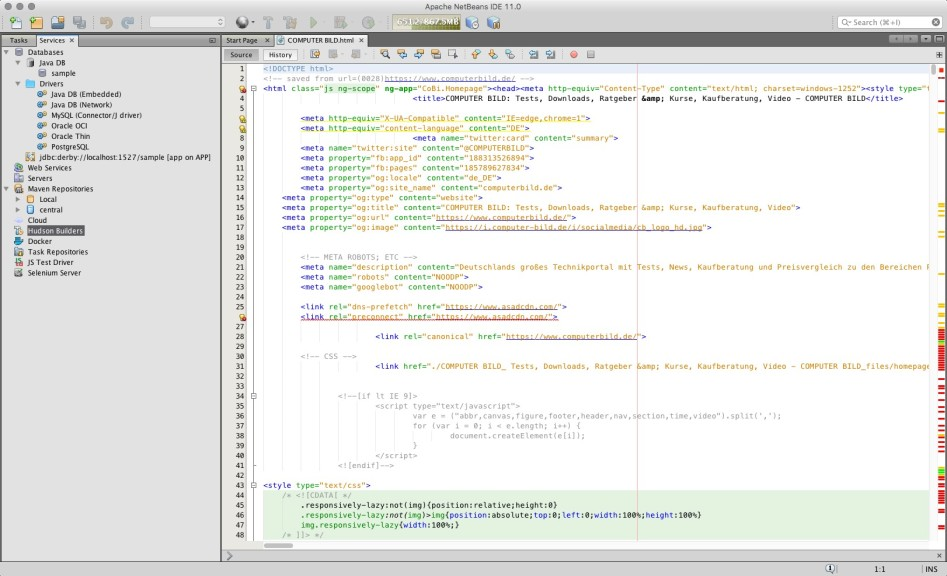
Netbeans
Netbeans, an open source and cross platform ide, highlights source code syntactically and semantically, lets you easily refactor code, with a range of handy and powerful tools.
CodeLobster
CodeLobster IDE streamlines and simplifies the PHP development process. You don't need to keep in mind the names of functions, arguments, tags or their attributes -- we've implemented all these for you with autocomplete features for PHP, HTML, JavaScript and even CSS.
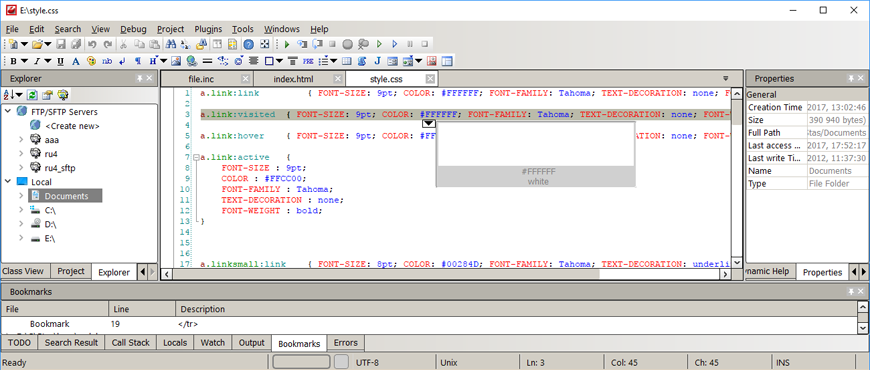
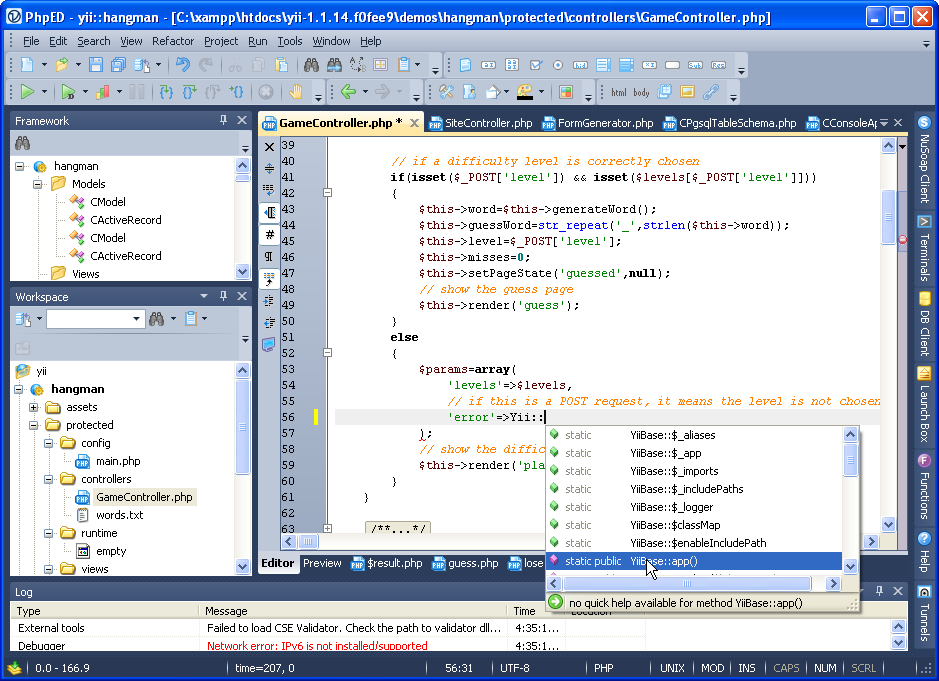
NuSphere
NuSphere is provider of the best PHP Tools, the home of PhpED - state of the art PHP Editor.
Thousands of people use our tools including our PHP IDE with the leading debugging tool for PHP.
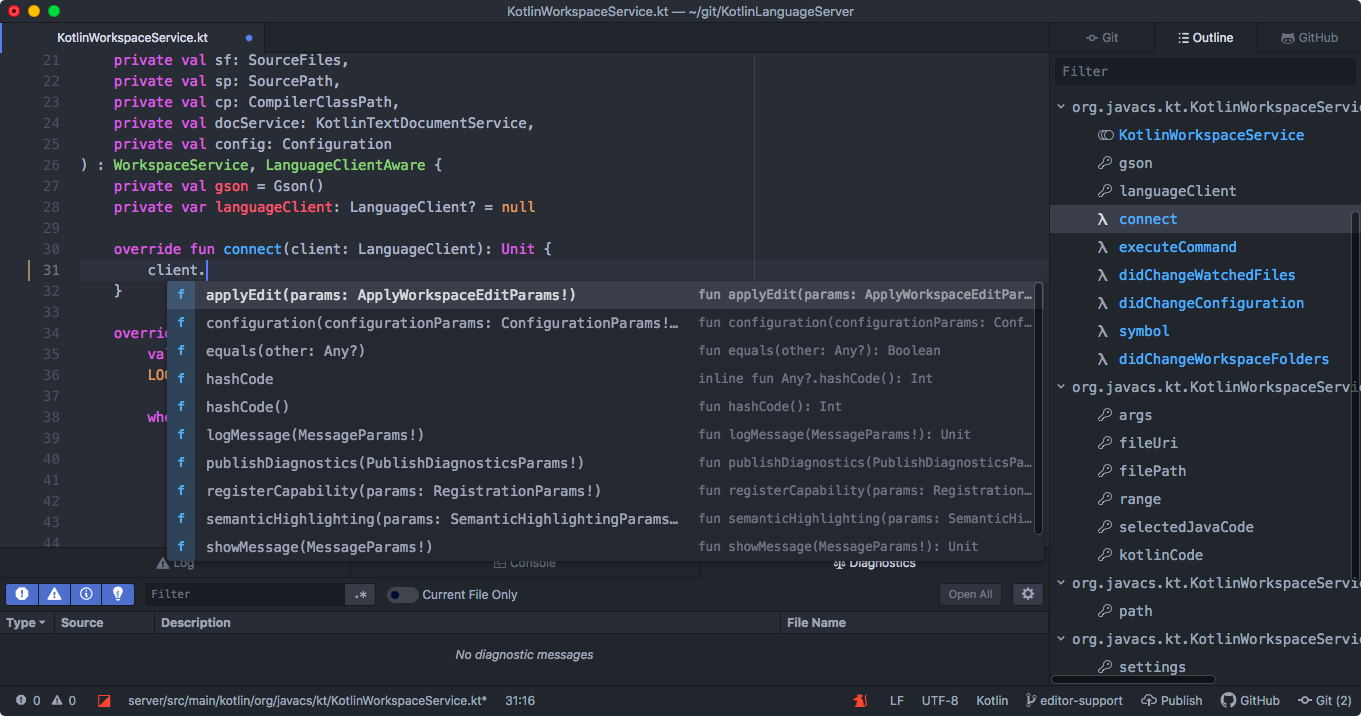
Atom
An open source, hackable text editor for the 21st Century
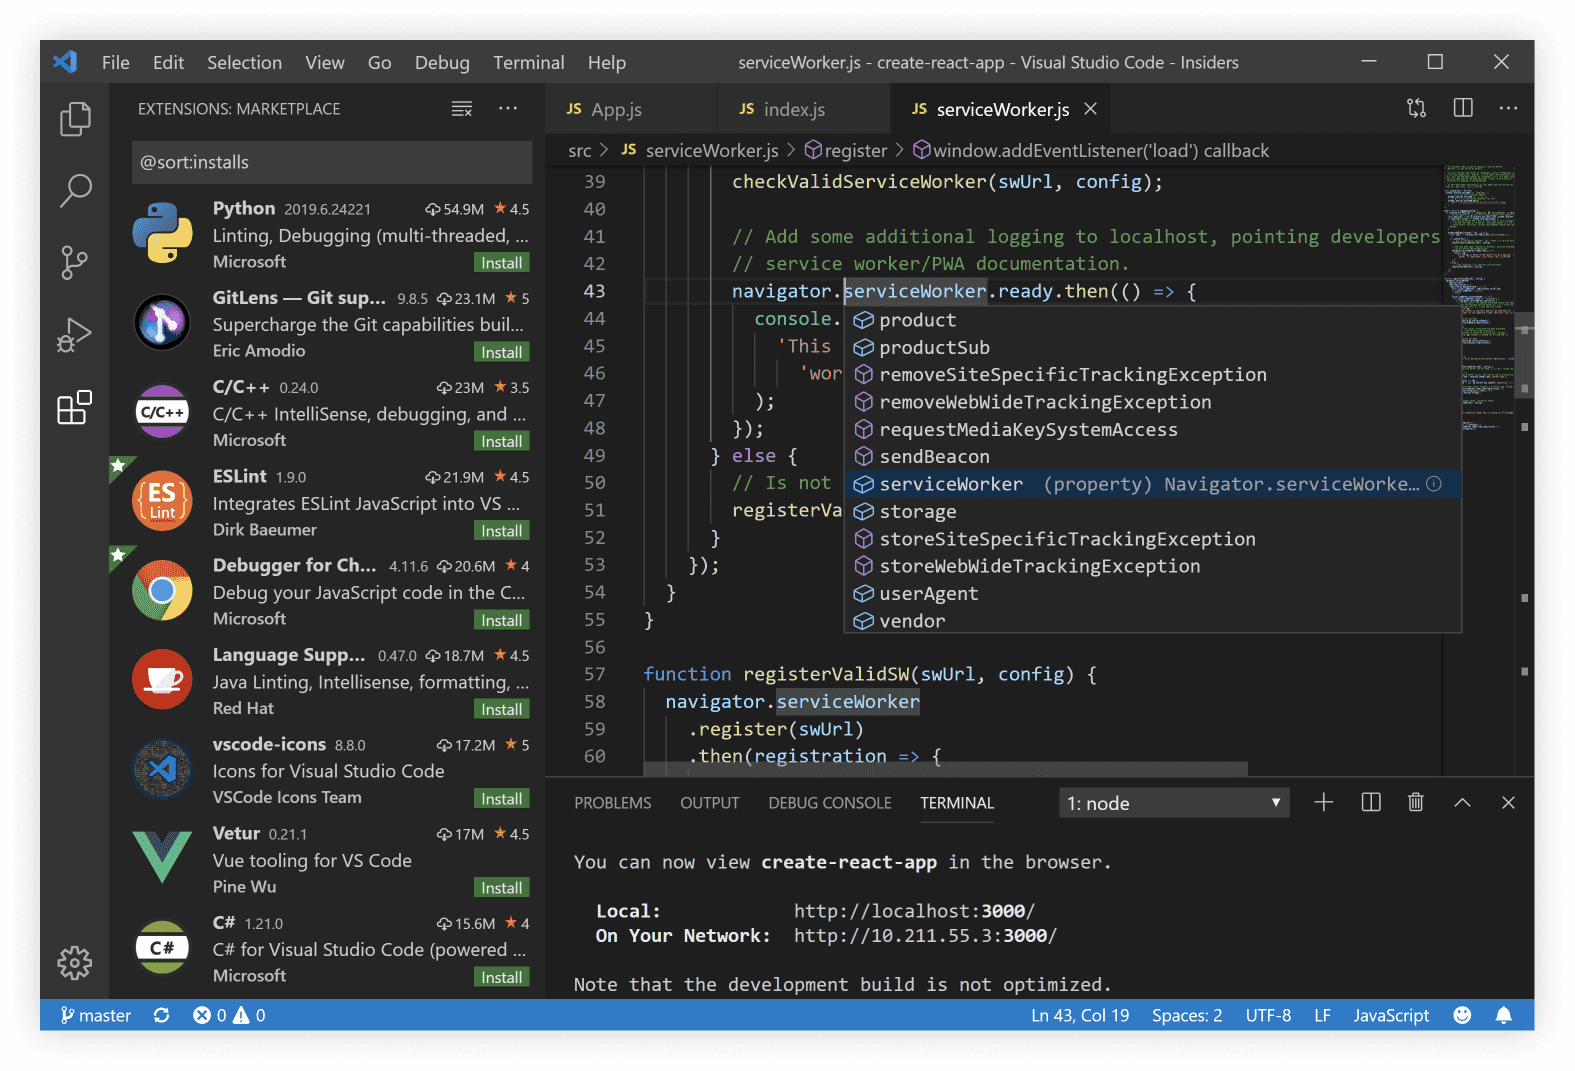
Visual Studio Code
https://code.visualstudio.com/
Visual Studio Code is a lightweight but powerful source code editor which runs on your desktop and is available for Windows, macOS and Linux. It comes with built-in support for JavaScript, TypeScript and Node.js and has a rich ecosystem of extensions for other languages (such as C++, C#, Java, Python, PHP, Go) and runtimes (such as .NET and Unity)
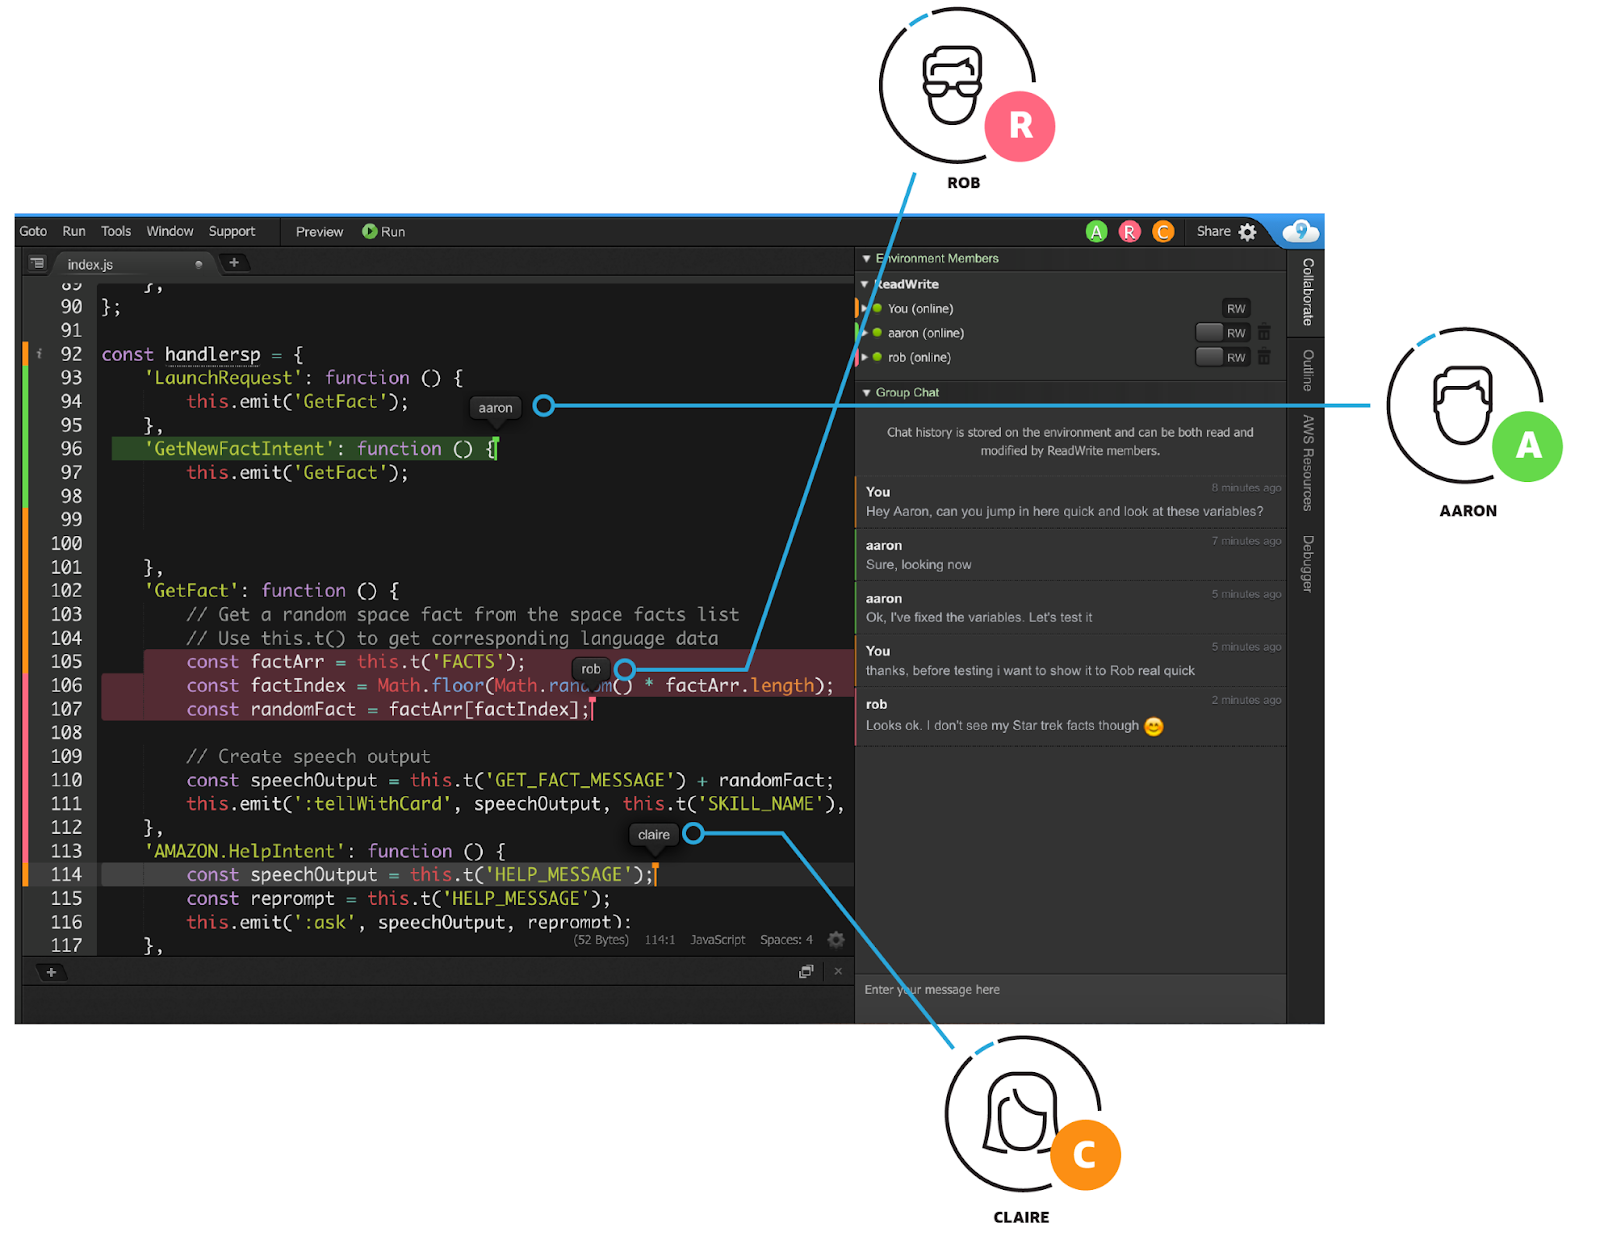
AWS Cloud9
https://aws.amazon.com/cloud9/
AWS Cloud9 is a cloud-based integrated development environment (IDE) that lets you write, run, and debug your code with just a browser. It includes a code editor, debugger, and terminal. Cloud9 comes prepackaged with essential tools for popular programming languages, including JavaScript, Python, PHP, and more, so you don’t need to install files or configure your development machine to start new projects. Since your Cloud9 IDE is cloud-based, you can work on your projects from your office, home, or anywhere using an internet-connected machine. Cloud9 also provides a seamless experience for developing serverless applications enabling you to easily define resources, debug, and switch between local and remote execution of serverless applications. With Cloud9, you can quickly share your development environment with your team, enabling you to pair program and track each other's inputs in real time.
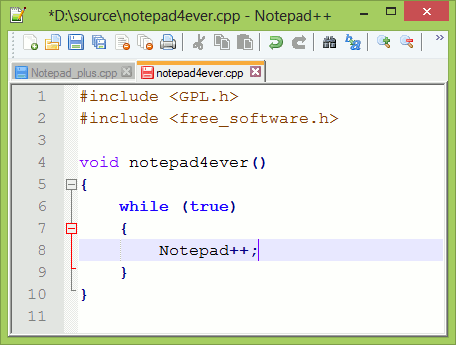
Notepad++
https://notepad-plus-plus.org/
Notepad++ is a free (as in “free speech” and also as in “free beer”) source code editor and Notepad replacement that supports several languages. Based on the powerful editing component Scintilla, Notepad++ is written in C++ and uses pure Win32 API and STL which ensures a higher execution speed and smaller program size.
Geany
Geany is a powerful, stable and lightweight programmer's text editor that provides tons of useful features without bogging down your workflow. It runs on Linux, Windows and MacOS is translated into over 40 languages, and has built-in support for more than 50 programming languages.

- Details
This is a series of posts which will list some useful apps for development and general usage of Windows. These are just some examples of what can be useful. Of course, use any app you already know or have.
local lamp dev env:
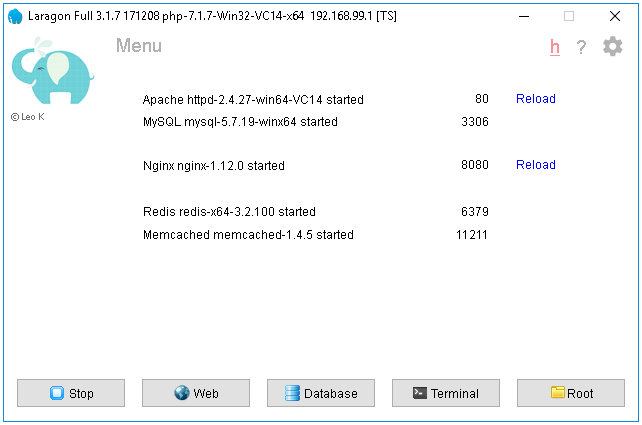
Laragon
https://github.com/leokhoa/laragon
Laragon is a portable, isolated, fast & powerful universal development environment for PHP, Node.js, Python, Java, Go, Ruby. It is fast, lightweight, easy-to-use and easy-to-extend.
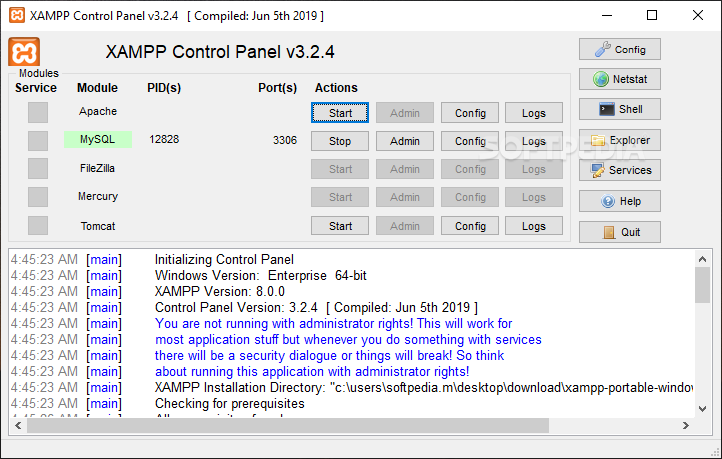
XAMPP
https://www.apachefriends.org/
XAMPP is a completely free, easy to install Apache distribution containing MariaDB, PHP, and Perl. The XAMPP open source package has been set up to be incredibly easy to install and to use.
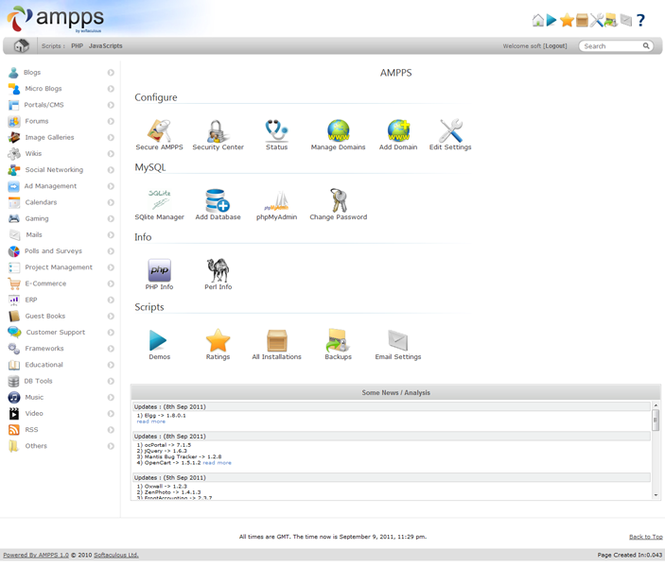
Ampps
AMPPS is a WAMP, MAMP and LAMP stack of Apache, MySQL, MongoDB, PHP, Perl & Python. With AMPPS you can create a website by installing any of the 419 Apps, customizing it, and then simply publishing it on the internet via a wide choice of hosting service providers.
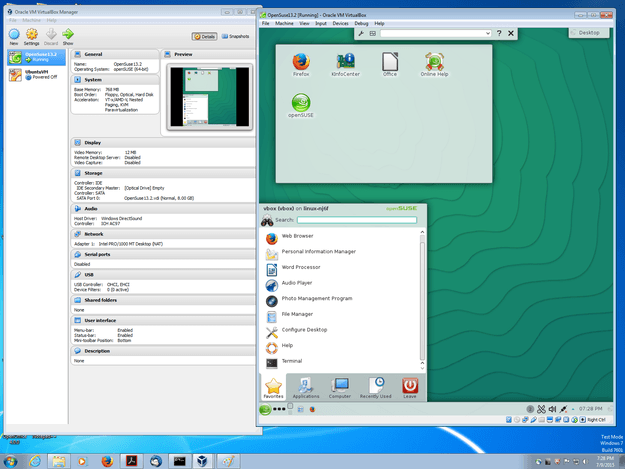
Virtual Box
VirtualBox is a powerful x86 and AMD64/Intel64 virtualization product for enterprise as well as home use. Not only is VirtualBox an extremely feature rich, high performance product for enterprise customers, it is also the only professional solution that is freely available as Open Source Software
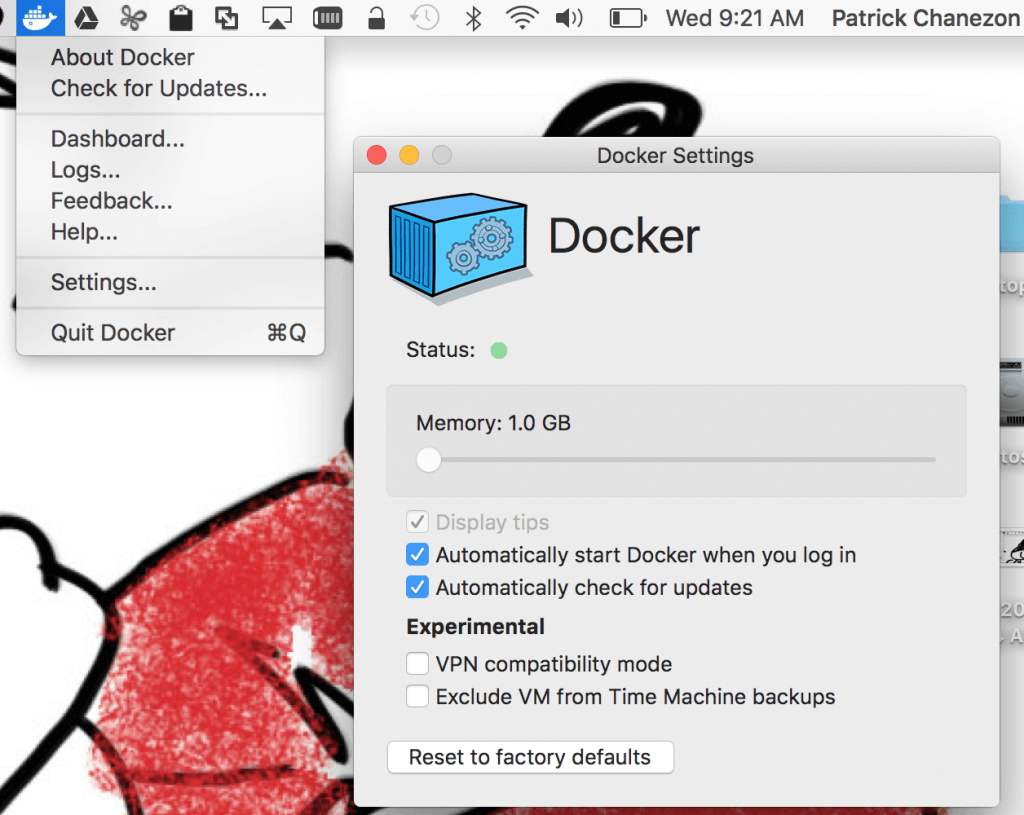
Docker
https://www.docker.com/products/docker-desktop
Docker helps developers bring their ideas to life by conquering the complexity of app development. We simplify and accelerate development workflows with an integrated dev pipeline and through the consolidation of application components. Actively used by millions of developers around the world.
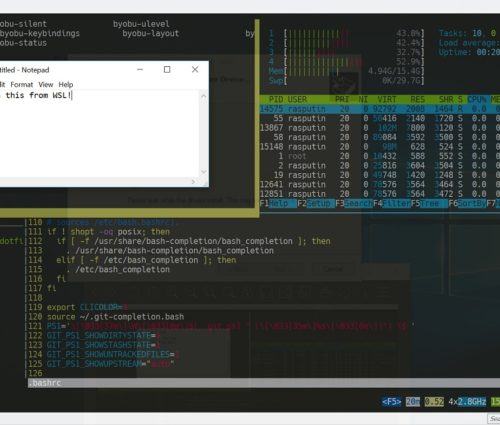
WSL
https://docs.microsoft.com/en-us/windows/wsl/install-win10
The Windows Subsystem for Linux lets developers run a GNU/Linux environment -- including most command-line tools, utilities, and applications -- directly on Windows, unmodified, without the overhead of a traditional virtual machine or dualboot setup.
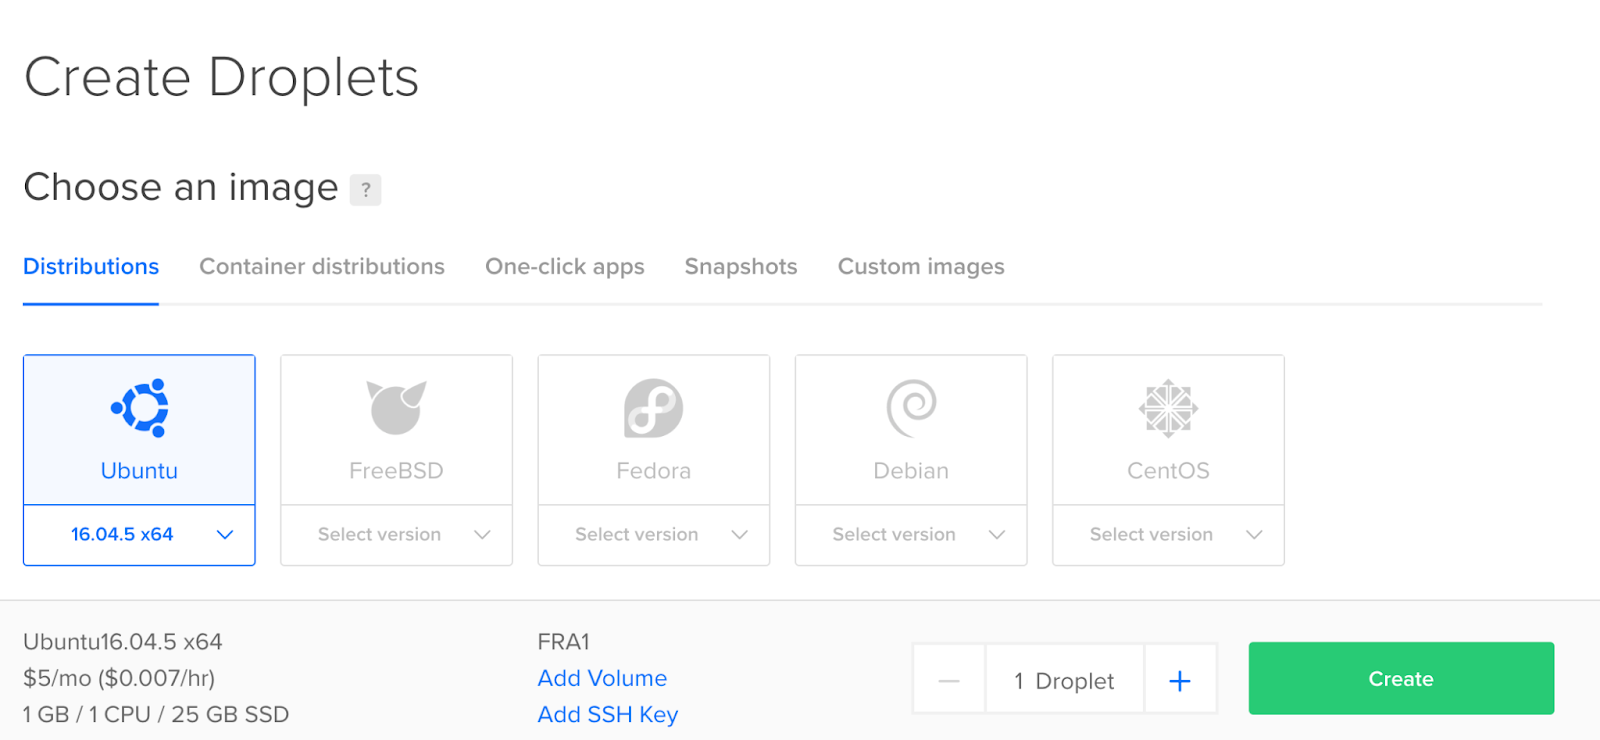
Cloud Droplets
https://www.digitalocean.com/products/droplets/
Easy, fast, and flexible compute
Spin up your choice of virtual machine in just 55 seconds. Basic, General Purpose, CPU-Optimized, or Memory-Optimized configurations provide flexibility to build, test, and grow your app from startup to scale.
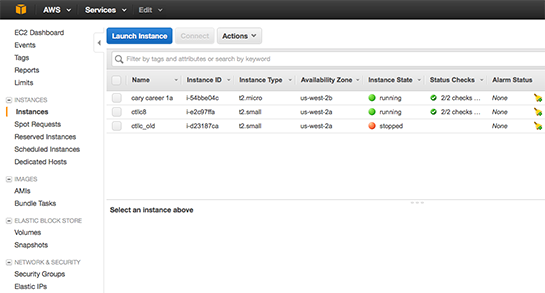
Cloud EC2
Amazon Elastic Compute Cloud (Amazon EC2) is a web service that provides secure, resizable compute capacity in the cloud. It is designed to make web-scale cloud computing easier for developers. Amazon EC2’s simple web service interface allows you to obtain and configure capacity with minimal friction. It provides you with complete control of your computing resources and lets you run on Amazon’s proven computing environment.
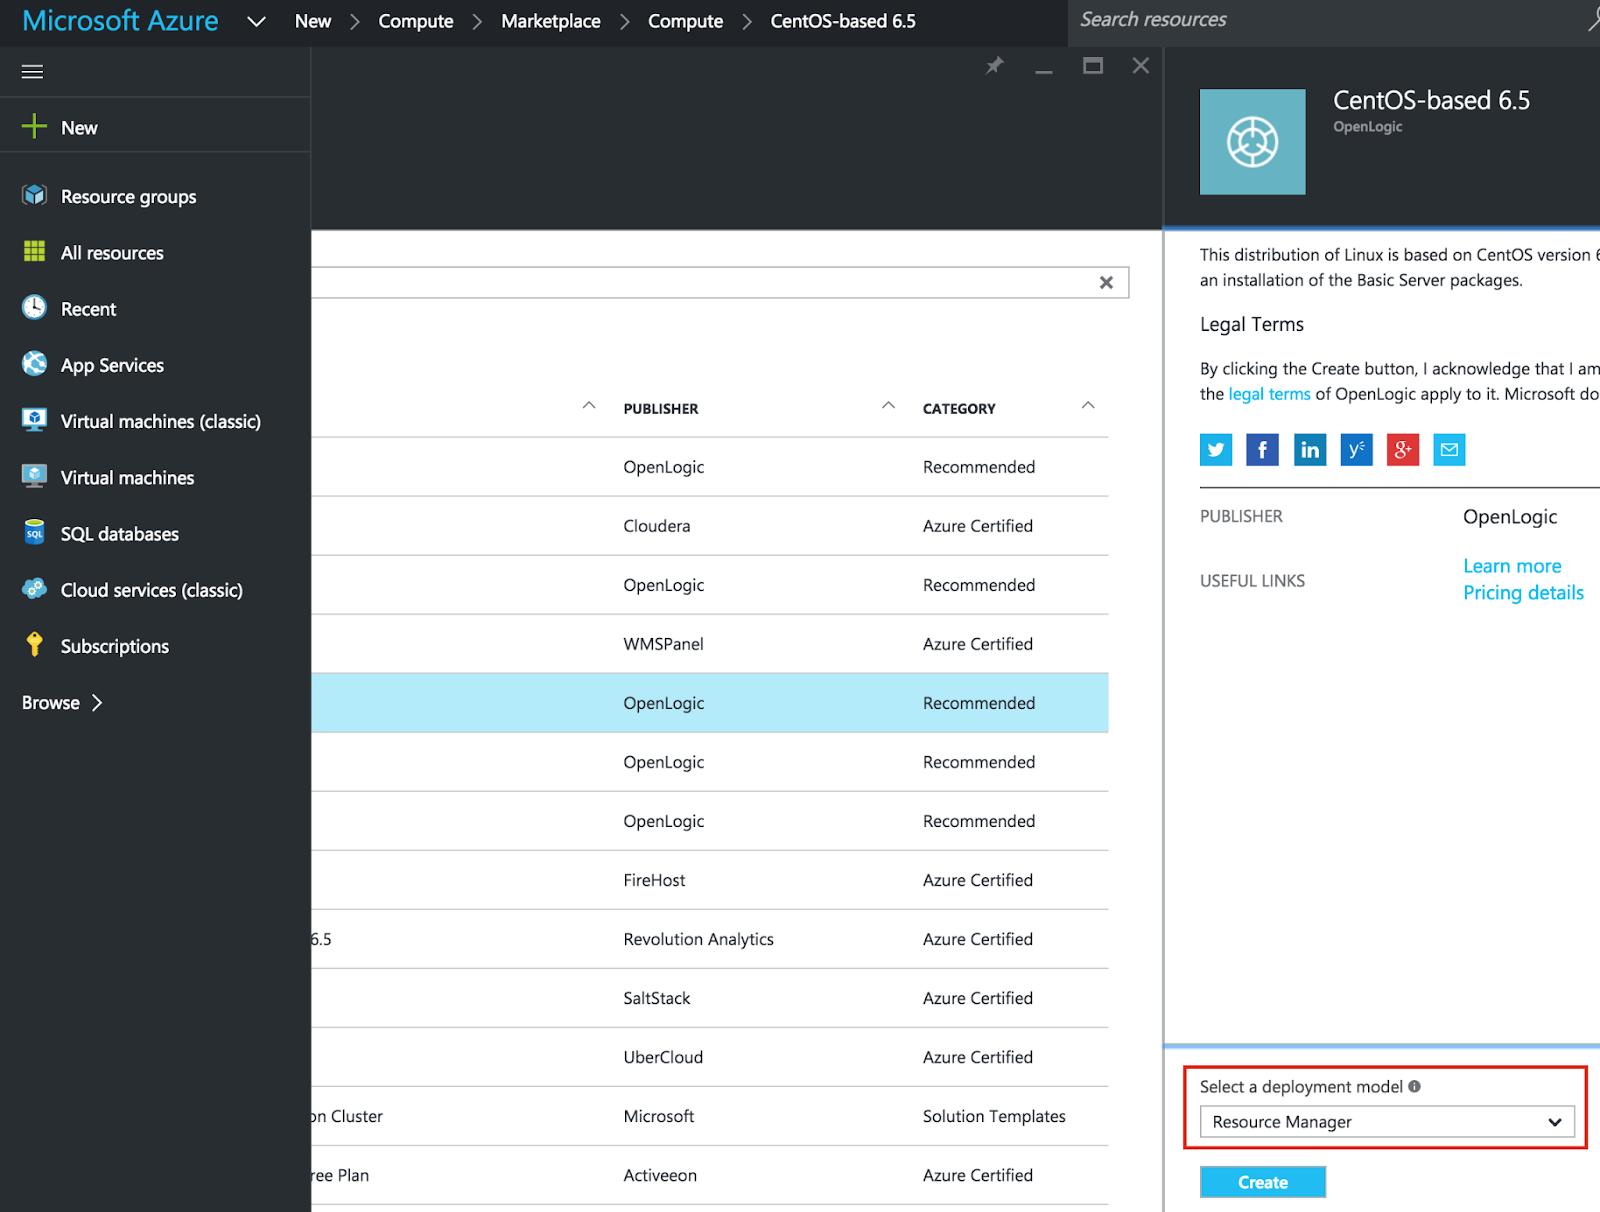
Cloud Virtual
https://azure.microsoft.com/en-us/overview/linux-on-azure/red-hat/
Deploy secure, reliable, flexible hybrid cloud environments using Red Hat solutions on Azure—a fully comprehensive cloud for open source architectures